


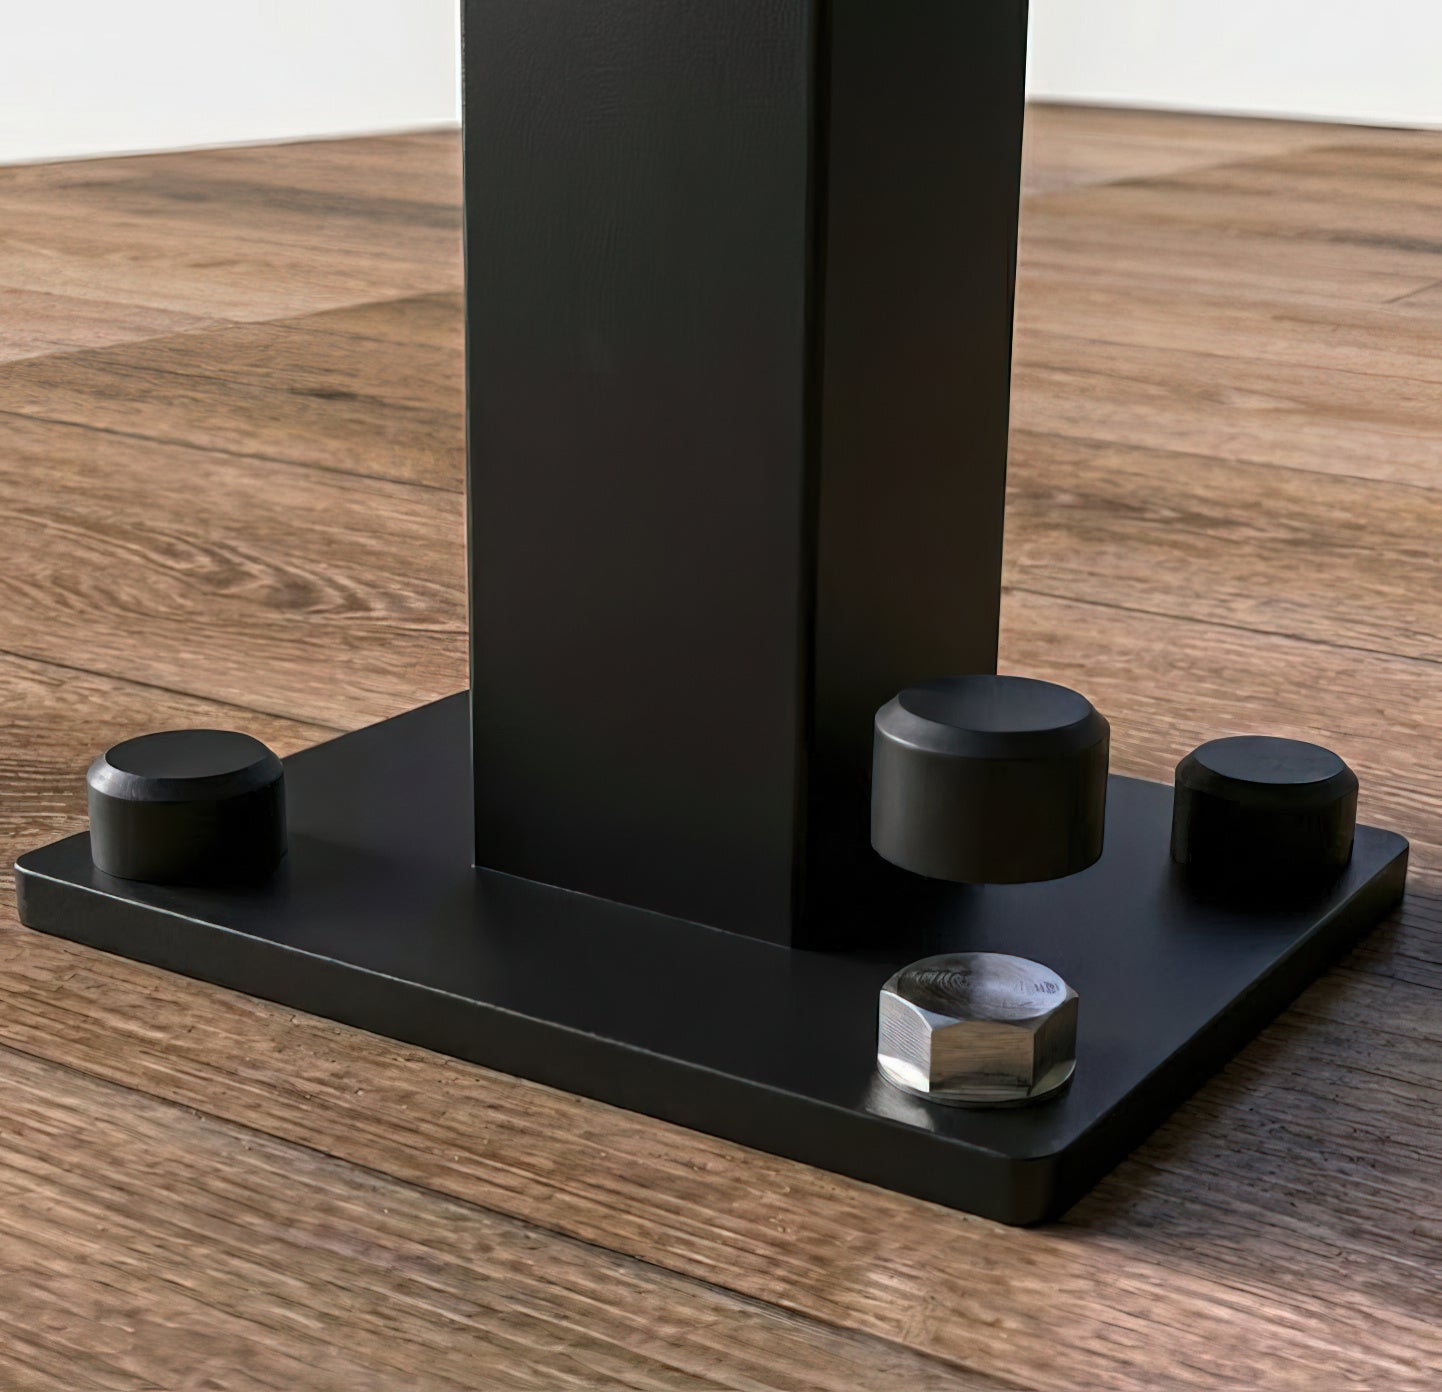
Decorative Bolt Cap
Decorative Bolt Cap
Couldn't load pickup availability
- Ships in 1-2 Business Days
 Made in the USA
- 60 Day Returns

Included
- 1x Aluminum bolt cap, fine texture black (bolt not included)
*Keep out of reach of children.

The Perfect Finishing Touch for Your Project
Don't let an exposed, industrial-looking lag bolt compromise the clean, modern aesthetic of your new railing. This decorative bolt cap is the final detail that elevates your project from a simple installation to a professional work of art.
Precision-machined from solid 6061 T6 aluminum, the cap is designed to conceal the entire 3/8" hex head of a lag screw, providing a seamless and sophisticated look. The durable, fine-textured black powder coat perfectly matches our Black Finish Collection hardware, ensuring a cohesive design down to the smallest detail. An integrated rubber O-ring provides a secure friction fit, ensuring the cap presses on snugly and stays in place, protecting the bolt head from the elements.


SPECIFICATIONS
Technical Details
- Item number: K-NC-37
- Black powder coat finish
- Made from type 6061 T6 aluminum
- Designed for use with 3/8" hex lag bolts
- Made in the USA
The Keuka Installation Guide
Step-by-Step Installation

1. Prepare the Cable
Ensure your 1/8" stainless steel cable is cut cleanly. Slide the Threaded Stud onto the cable first. Important: Ensure the smaller end of the hole goes onto the cable first, with the larger opening facing the cut end of the cable.

2. Install the Jaws
Push the Jaws onto the end of the cable using your fingers. Slide them on just enough so that approximately 1/8" of cable is exposed at the very end of the jaws.

3. Lock the Assembly
Pull the Threaded Stud back up toward the Jaws. Pull it firmly until you feel or hear a distinct "click." This indicates the jaws are seated correctly inside the stud.

4. Install the Washer
Place the Delrin Plastic Washer onto the threaded stud assembly.

5. Connect the Fitting Assembly
Insert the Level Fitting Body into the post to meet the cable assembly. Begin threading the stud/jaw assembly into the fitting body by hand until it is hand-tight.

6. Tighten and Tension
Once all cables are installed, use your Allen wrench (or ratchet with 3/16” hex bit) to apply final tension.
Tip: Hold the cable steady with your pliers to prevent it from spinning while you turn the fitting.
Tensioning Order

How far apart do I space my cables?
Approximately 3" apart. The general rule is that a 4" ball should not pass through the railing infill. Cables are flexible therefore 3" spacing is recommended.
What is swaging?
To swage (pronounced swaj) is to press a solid fitting or threaded end onto a cable using the force of either a leverage type hand tool or hydraulic press. The tool has dies that shape the fitting to a specific diameter. Also sometimes referred to as a crimper.
What does swageless mean?
A cable fitting that is swageless does not require a swaging tool to install it on a cable. Swageless fittings generally have jaws that "bite" into the cable under tension. All the Keuka fittings are "swageless".
How far apart do I space my posts?
48" maximum distance between posts is recommended. This is also to help prevent cables from separating.
What colors do the cables and fittings come in?
Currently the cables are available in stainless and blackened stainless steel.
What is the best cable size for cable railing?
1/8" diameter is the most commonly used cable diameter. It is also relatively transparent. Larger diameter cables become more difficult to manage as the thicker cable has more spring back force and becomes more difficult to cut and bend on site.
Where are Keuka products made?
Our products are proudly made in the United States.
How tall should my railing be?
36" measured from the surface of the deck to the top of the railing for most residential applications. 42" is required for commercial applications and also for California residents on guard railing. Guard railing is defined as any railing that presents a fall hazard (30" above ground or higher).
Is cable railing safe for children?
Yes. The flexibility and small diameter of small cable makes it difficult to grasp and climb. Of course no railing is climb proof.
Can cable railings be used outside?
Yes, cable railings can be used inside or outside. Mother nature will cause any product to weather at an accelerated rate which will not be experienced indoors.
How do you ship your railing parts?
We ship all orders via FedEx.


