Can I Install Cable Railing on Existing Wood Posts?
For many homeowners, the dream of a modern deck is often halted by the nightmare of a total demolition. You want the sleek, invisible look of cable railing, but your deck’s structure is still sound. Tearing out perfectly good wood posts just to update the "look" feels like a waste of time and budget.
The good news? You don't have to rebuild your entire deck.
Retrofitting cable railing onto existing wood posts is a huge segment of the DIY market. It allows you to keep your current framing while swapping out clunky wood balusters for high-end stainless steel. However, cable railing behaves differently than wood pickets because it relies on high tension. Before you start drilling, you need to ensure your old posts are up for the job.
Here is your step-by-step guide to updating deck railing by retrofitting Keuka Cable onto your existing wood posts.

Step 1: The "Health Check" – Inspecting Your Posts
Before you order a single foot of cable, you must verify the integrity of your current posts. Wood rot can hide beneath layers of paint or stain, and cable tension will find every weak spot.
How to Inspect Old Wood Posts for Rot:
- The Screwdriver Test: Poke the base of your posts (where they meet the deck floor) with a screwdriver. If the wood feels spongy or the tool sinks in easily, the post has internal rot and must be replaced.
- The Shake Test: Give each post a firm shove. If there is significant wobble at the base, the connection to the framing is loose. Cable railing requires rigid posts; a wobbly post will bow under tension, causing your cables to sag.
- Check for Cracks: Small surface checks (vertical cracks) are normal in 4x4s, but deep splits that run through the bolt holes or near the base can compromise structural strength.
Rule of Thumb: Your corner and end posts take the most stress. If any post is questionable, replace it. It is easier to replace one post now than to fix a failed railing later.

Step 2: Strengthening Wood Posts for Tension
This is the most critical step in installing cable railing on wood posts. Unlike wood pickets, which are vertical load-bearing elements, cable railing pulls inward on your posts with hundreds of pounds of force.
If you simply string cables through standard 4x4s without preparation, the posts may bow inward over time.
How to Reinforce for Retrofit:
- Add Blocking: If you can access the underside of your deck, install "blocking" (short pieces of lumber) between the joists directly beneath your posts. This creates a solid mass for the post bolts to grip, reducing wobble.
- The Top Rail is Key: Your top rail acts as a compression strut, pushing back against the tension of the cables. Ensure your top rail is securely fastened to every post. If your old top rail is thin or weak, consider replacing it with a sturdy 2x6 or a dense hardwood like Ipe.
- Support Under the Rail: For extra rigidity, some homeowners install a sub-rail (a 2x4 on edge) directly under the top cap. This prevents the rail from sagging or bowing between posts.

Step 3: The "Facelift" – Why Keuka Fittings Make Retrofitting Easy
Once your posts are vetted and reinforced, the actual installation is surprisingly simple if you use the right hardware.
Many industrial cable systems require "swaging" (crimping) the metal fittings onto the wire using a hydraulic press. This is difficult to do on an existing deck where measurements might not be perfect down to the millimeter.
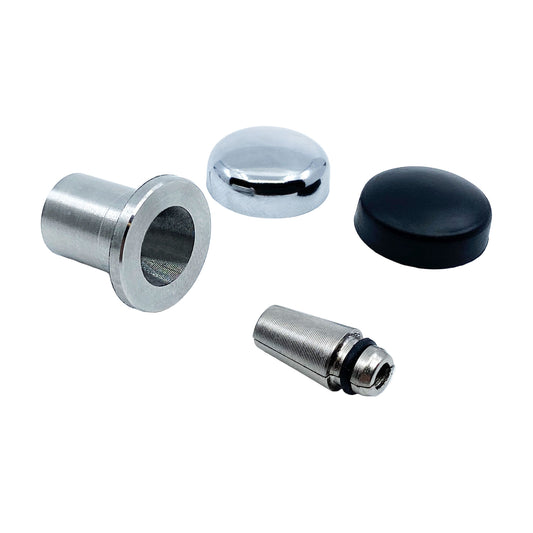
Keuka Cable’s swageless fittings are designed specifically for deck renovation ideas like this:
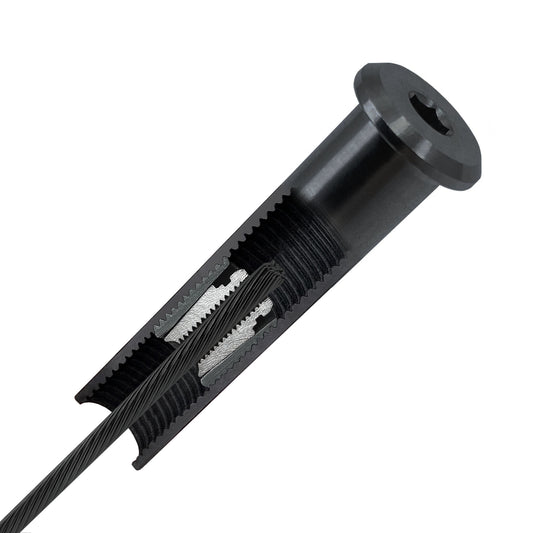
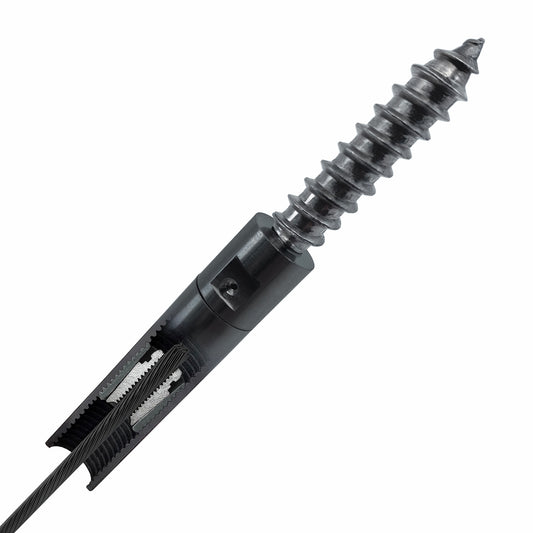
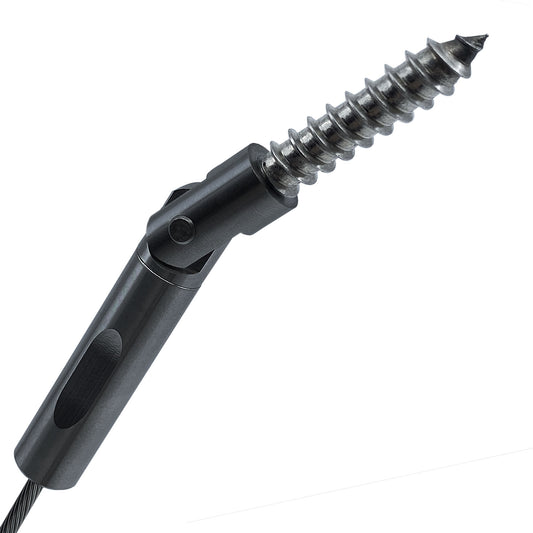
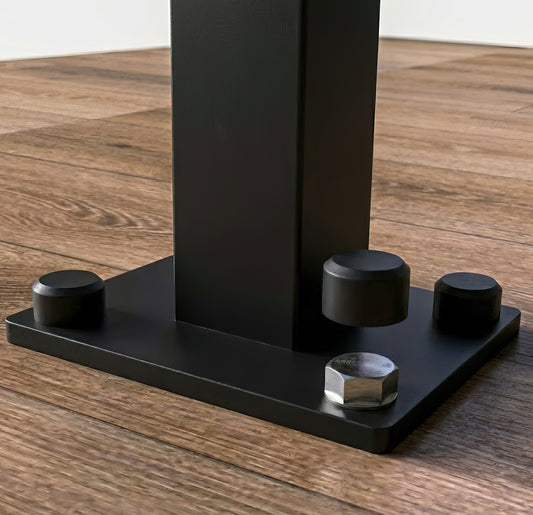
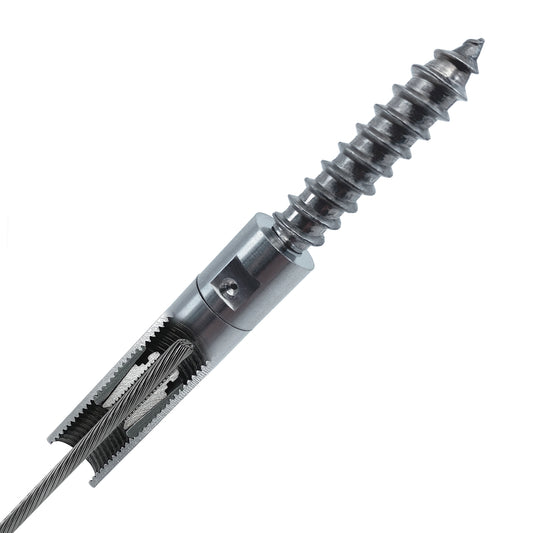
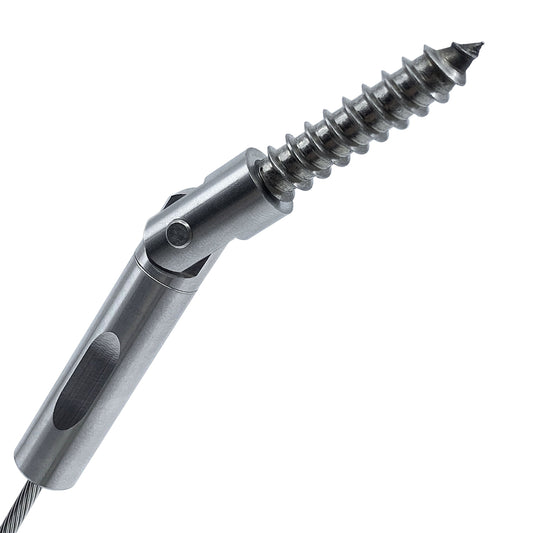
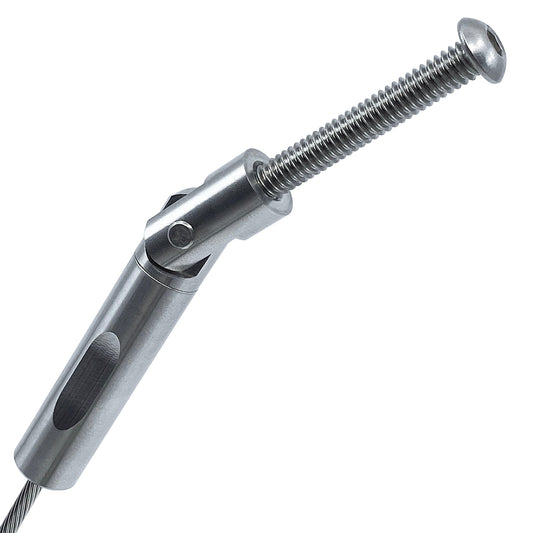
- Lag Screw Connections: Our Level Fitting with Lag End is perfect for wood posts. It features a lag screw that drives directly into the wood face, requiring only a pilot hole. There are no complex through-bolts that require access to the back of the post.
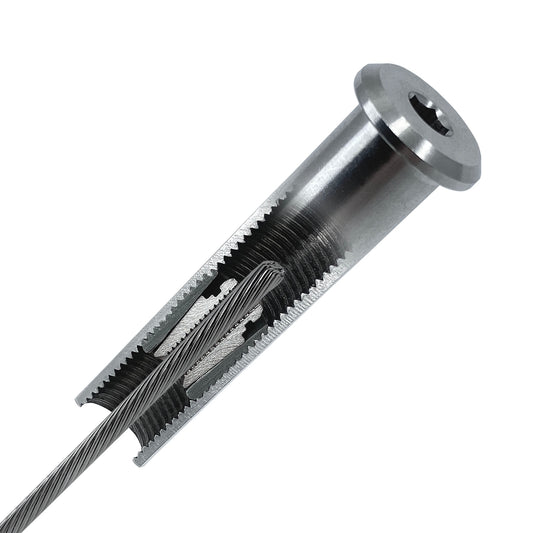
- Tool-Free Assembly: You don’t need a crimper. The cable inserts into the fitting and locks automatically with a specialized internal jaw system.
- Adjustability: Old wood decks are rarely perfectly square. Keuka fittings can be tensioned, meaning you can tighten (and re-tighten) the cables with a simple wrench if your wood posts shrink or shift slightly over the seasons.

Step 4: Installation Basics
Updating deck railing with a retrofit kit typically follows this workflow:
- Remove Old Balusters: Cut out the old wood pickets. Leave the posts and top rail in place.
- Layout & Drill: Mark your cable runs (typically spaced 3 inches apart). Drill pilot holes into the inside face of your posts for the lag terminals.
- Install Fittings: Screw the Keuka Lag Ends into the posts.
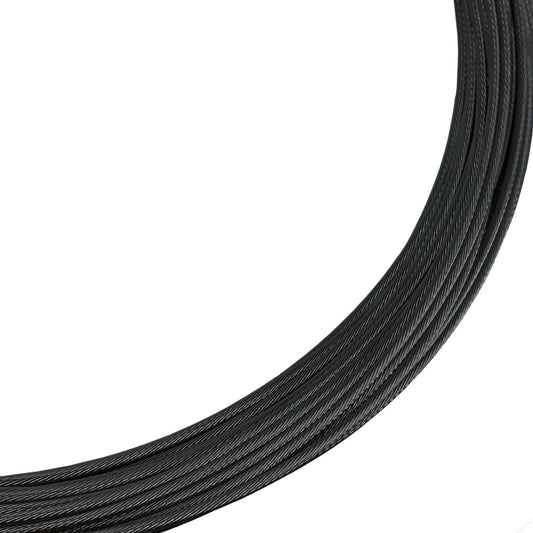
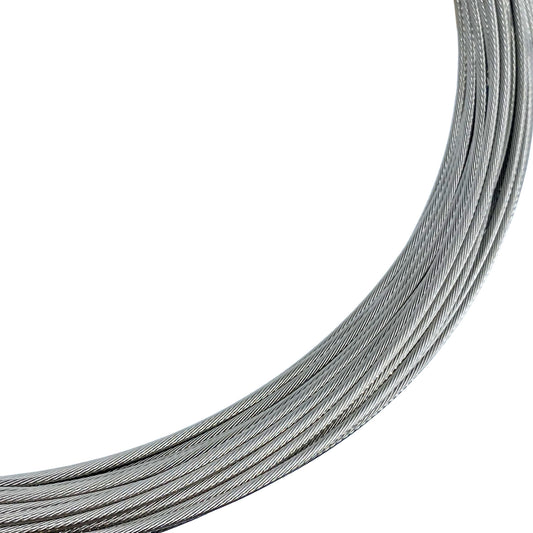
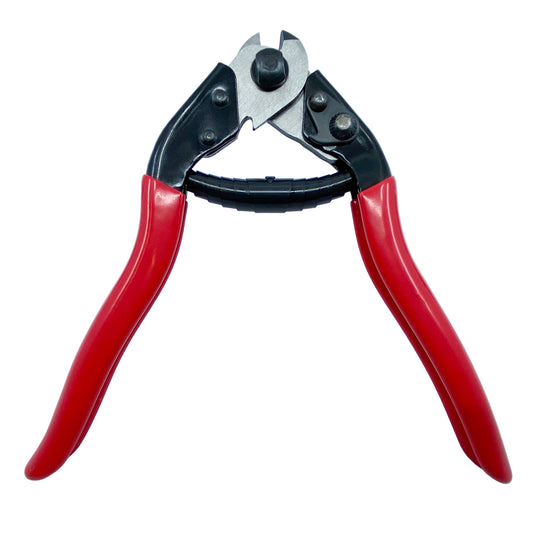
- Run Cable: Cut your 1/8" stainless steel cable to length, insert it into the fittings, and tension it up.
Conclusion: A High-End Look for a DIY Budget
You don’t need a demolition crew to get the modern deck you want. By inspecting your current structure and using hardware designed for flexibility, retrofitting cable railing is a weekend project that completely transforms your home's exterior.
Ready to start your facelift? Explore Keuka Cable’s Wood Post Fittings Here and see how easy it is to upgrade your view.