DIY Cable Railing: 5 Tools You Actually Need (and 3 You Don't)
A quick image search for "cable railing installation" often brings up photos of contractors holding massive hydraulic crimpers and industrial tensioning gauges. For a homeowner looking to upgrade their deck, this can be intimidating. It looks less like a weekend project and more like a commercial construction site.
The good news is that those photos are outdated.
Modern engineering has changed the game for installing cable railing yourself. Thanks to Keuka Cable’s swageless fittings, the barrier to entry has dropped significantly. You do not need a van full of specialty gear to get professional results. You just need the right checklist.
Here is the breakdown of the tools for cable railing installation that you actually need plus the ones you can leave at the store.

The 3 Tools You Do NOT Need
Let’s start by clearing the clutter. If you are using Keuka Cable’s system, you can cross these expensive items off your list immediately.
1. A Hydraulic Crimper
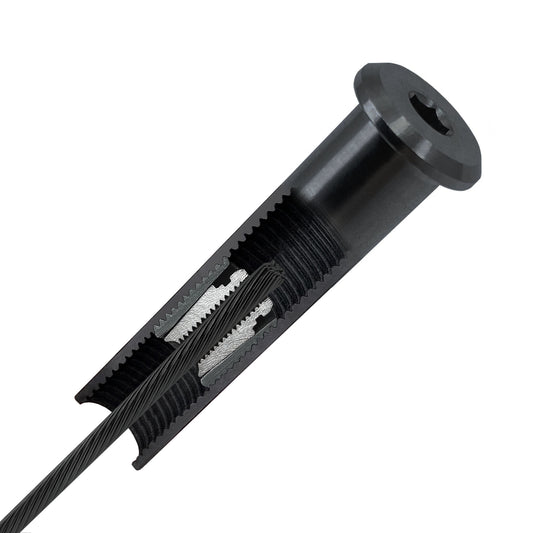
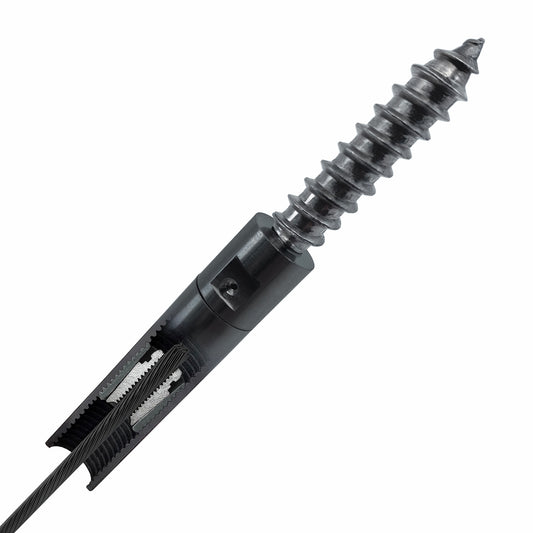
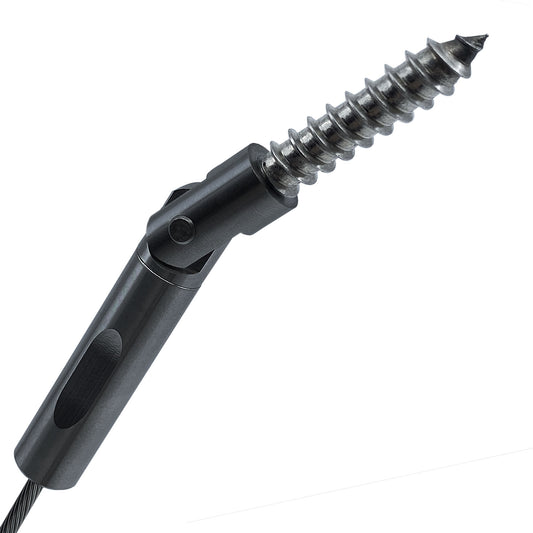
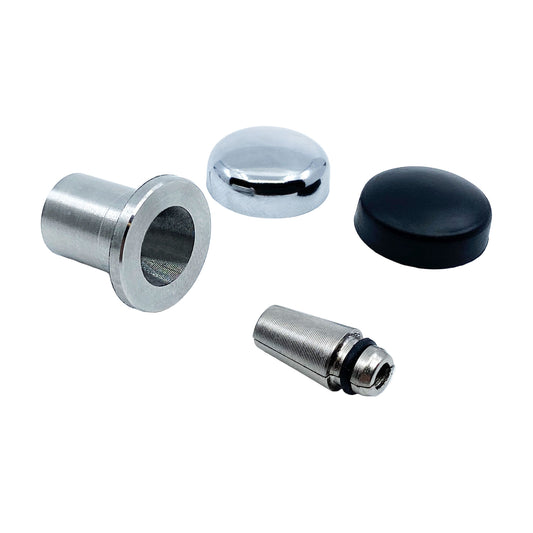
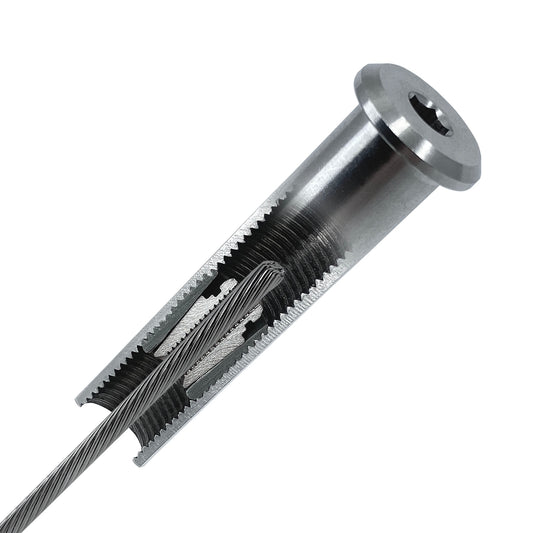
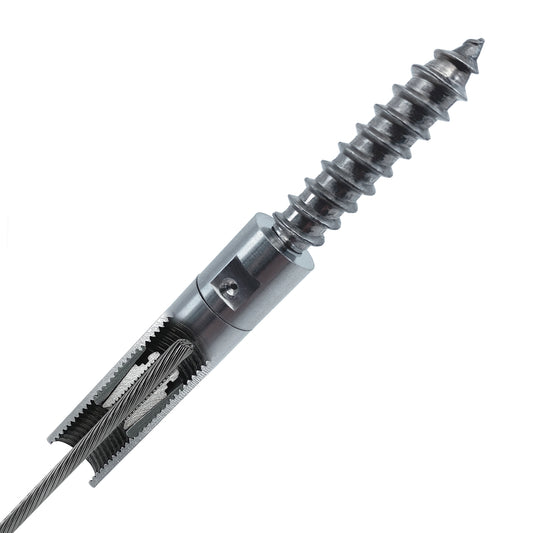
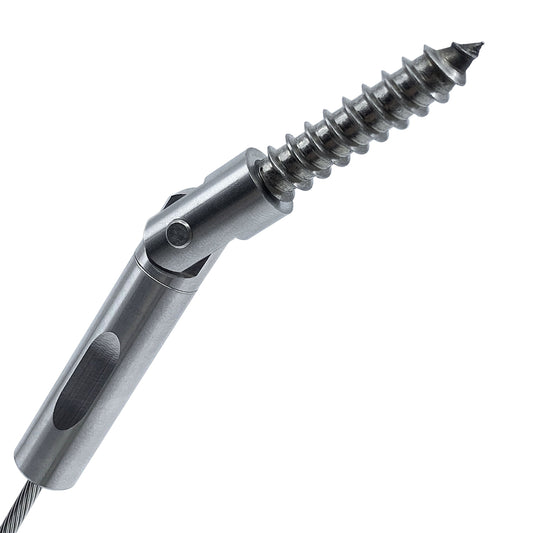
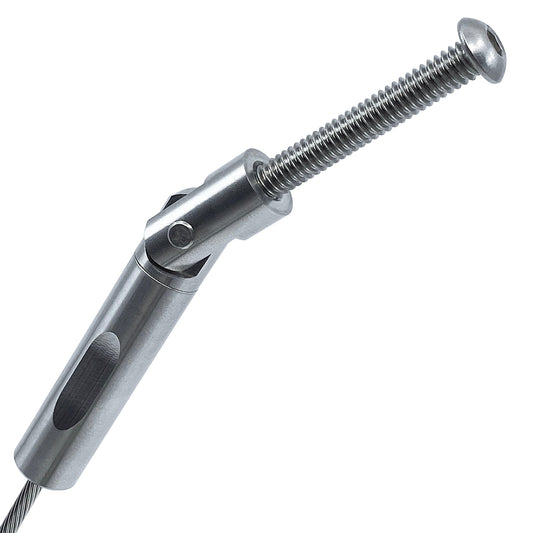
Traditional cable railing required you to physically crush (swage) the steel fitting onto the cable using a hydraulic press. These tools are heavy, expensive to rent, and difficult to use correctly. Keuka Cable uses swageless fittings. These clever mechanisms grip the cable automatically when you tighten them with simple hand tools. No crimping required.
2. A Tensioning Gauge
Some complex systems require a specific tension gauge to measure the pounds of force on every line. With our system, tensioning is intuitive. You tighten the fittings until the cable is taut and rigid. If it feels solid and passes the "4 inch sphere rule" code requirement, you are good to go.
3. A Professional Crew
This is not a tool, but it is the biggest expense you can avoid. Our system is designed specifically for DIY deck railing tools and skills. If you can operate a drill and read a tape measure, you are qualified to install this railing.
The 5 Tools You DO Need
Now that we have removed the scary equipment, here is the simple kit you will need to get the job done.
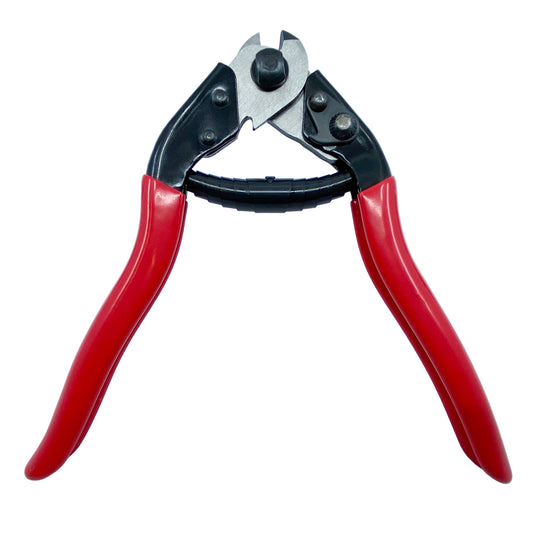
1. High Quality Cable Cutters (Included in Our Toolkit)
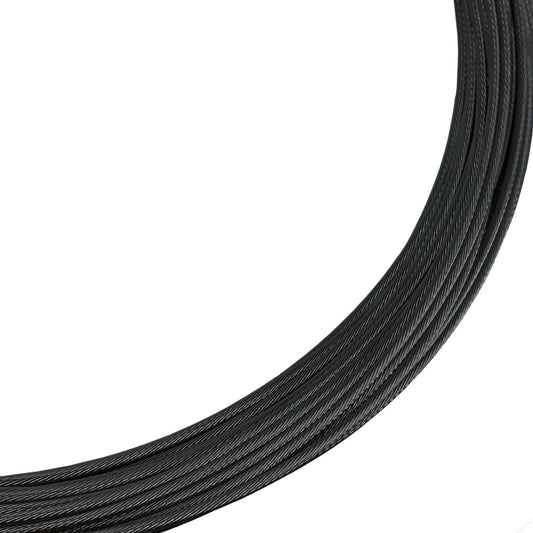
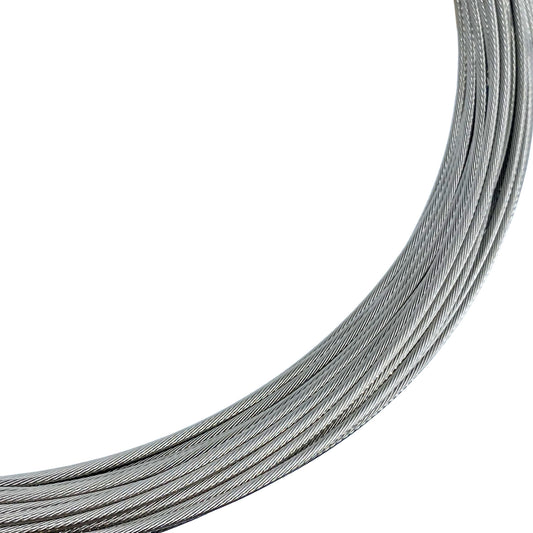
This is the one area where you should not skimp. You are cutting marine grade stainless steel. Standard wire strippers or bolt cutters will crush the cable and cause the ends to fray, making it impossible to slide the fittings on.
- The Pro Move: Buy a dedicated cable cutter tool guide rated for 1/8 inch or 3/16 inch stainless steel cable.
- The DIY Hack: If you do not want to buy a specific cutter, you can use a cutoff wheel on an angle grinder. Just be sure to wrap the cut area in tape first to keep the strands together.

2. Cable Tension Pliers (Included in Our Toolkit)
When you tighten the fittings at the end of the run, the cable might try to spin along with the nut. You need to hold the cable firm to get proper tension.
-
Tip: If you use standard locking pliers, wrap the teeth in electrical tape or a piece of rubber. This protects the stainless steel cable from getting scratched or gouged by the metal teeth.

3. A 3/16 Inch Allen Wrench (Included in Our Toolkit)
This is the magic wand of the Keuka Cable installation. The swageless fittings are tightened using a standard hex key.
-
Speed Tip: While a simple L key works, we recommend buying a 3/16 inch hex bit for your socket wrench or drill. This makes the tightening process much faster and easier on your wrists.

4. A Drill and Driver Set
You will need a reliable drill for two main tasks. First, you need to mount the posts to your deck surface (wood or concrete). Second, you may need to drill pilot holes for the top rail. Ensure you have a good set of drill bits suitable for your decking material.
5. Tape Measure and Level
Precision is key for a luxury look. You need a tape measure to ensure your posts are spaced correctly (typically no more than 4 feet apart) and a level to ensure every post is perfectly plumb before you run the cables. If your posts are not level, the cables will be harder to tension correctly.
The Verdict
The difference between a stressful project and a fun weekend build is often just having the right information. By choosing a swageless system, you bypass the need for industrial machinery and keep your tool budget low.
Grab your drill, order your cable, and enjoy the satisfaction of building something beautiful with your own two hands.