Level Fittings Installation Guide
For Metal Posts
Installing Keuka Cable’s Level Fittings is a straightforward process designed for DIYers and professionals alike. Our swageless system fits directly inside a standard 2-inch metal post and eliminates the need for specialized crimping tools. You can secure your 1/8” stainless steel cables by hand using simple tools found in most garages.
Use the video above and the step-by-step instructions below to achieve a clean, professional finish on your cable railing system.
Tools Required
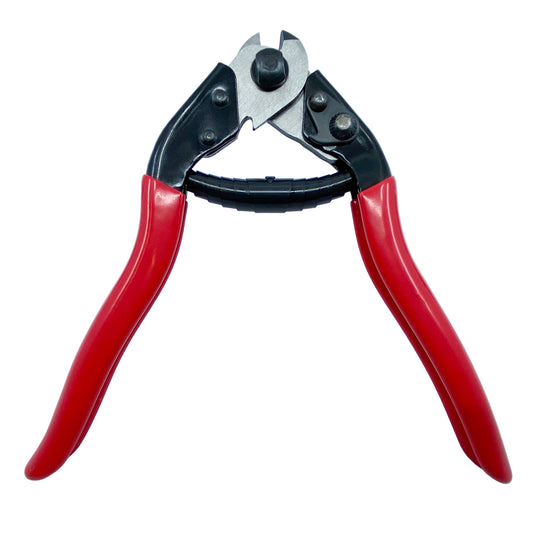
- Cable Cutters: A cutter with a beveled blade is recommended for a square cut (alternatively, a grinder with a cutoff wheel can be used).
- Pliers: Vise-grips with a machined end are best to prevent scratching. Pro Tip: If using standard pliers, wrap the teeth in tape to protect the steel hardware.
- Allen Wrench: Required for tightening the fitting inside the post.
- Ratchet (Optional): A ratchet with a 3/16” hex end is recommended if you are installing a large volume of cables to speed up the process.
Components
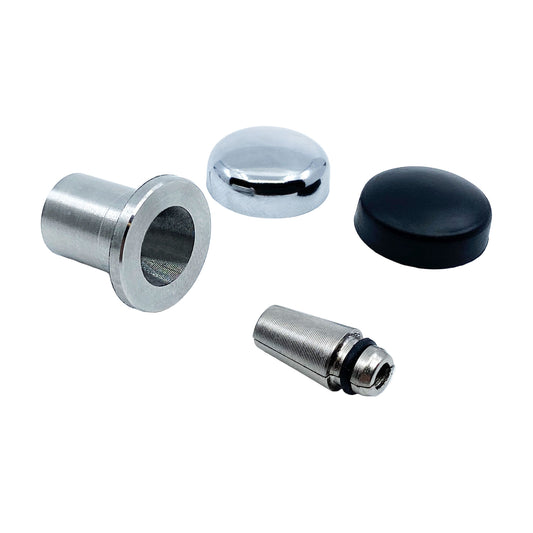
Every 2-inch level fitting kit includes:
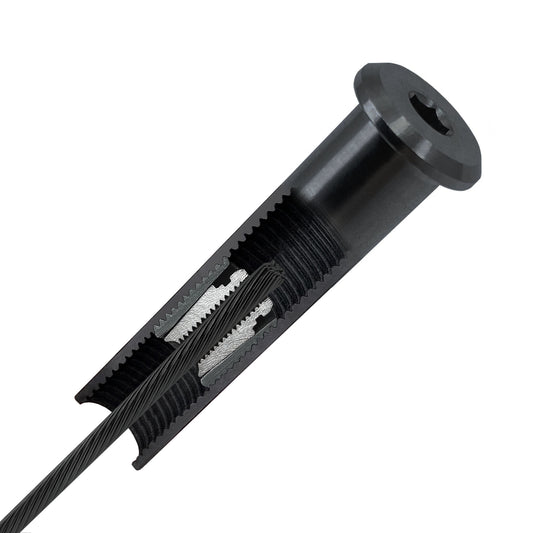
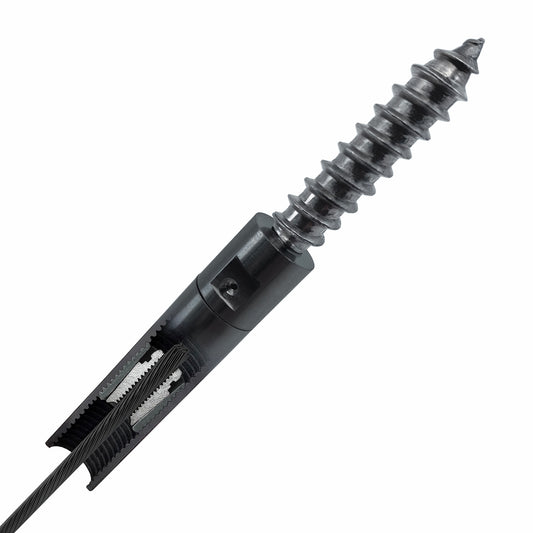
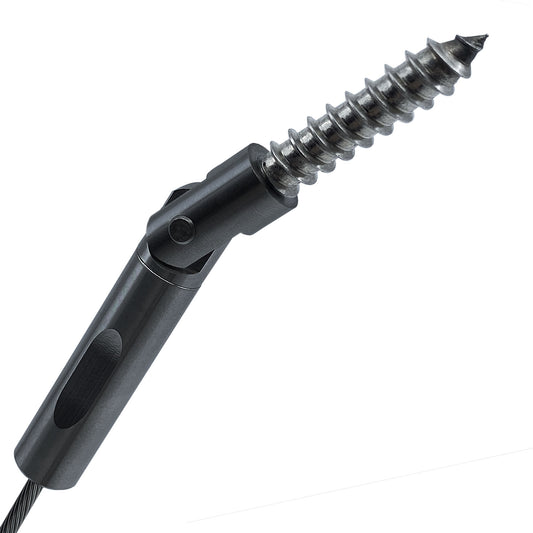
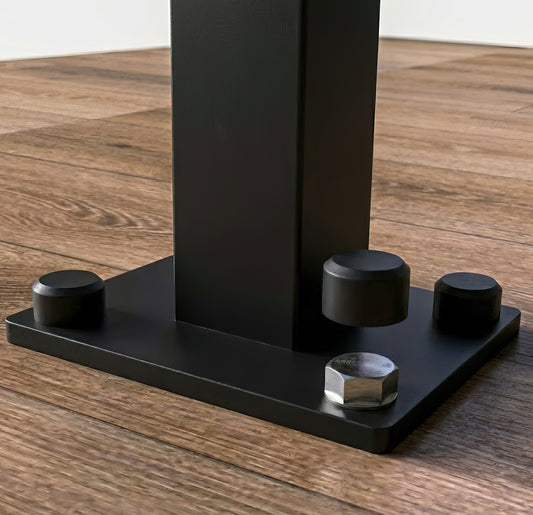
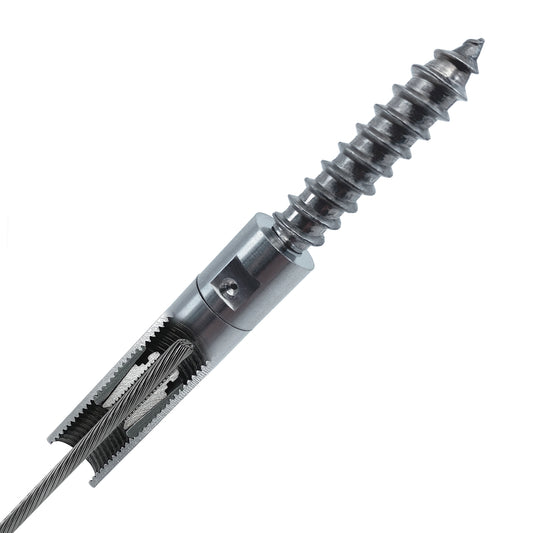
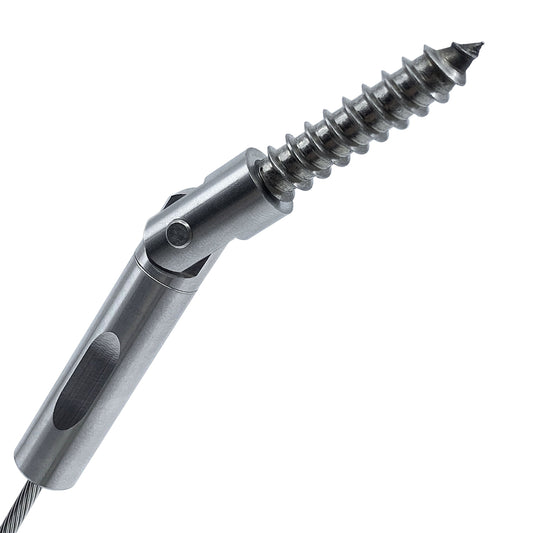
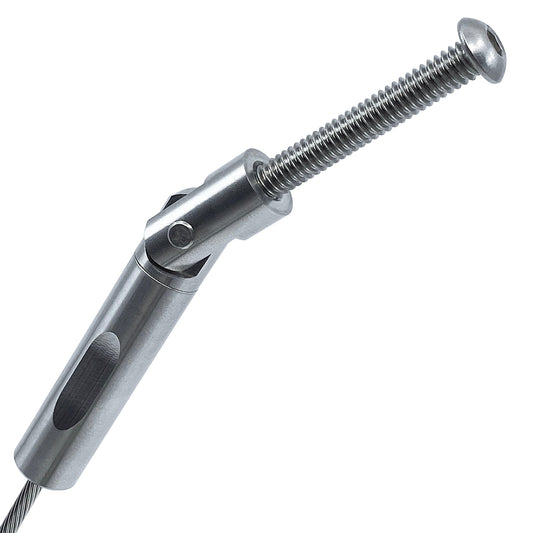
- Level Fitting Body: The main 2-inch cylinder with an access hole for the Allen wrench.
- Threaded Stud: Holds the jaws and locks into the fitting.
- Jaws: A set of wedges held together by an O-ring/rubber band (do not remove the band).
- Delrin Washer: A plastic washer to protect the face of your metal post.
Step-by-Step Installation
1. Prepare the Cable
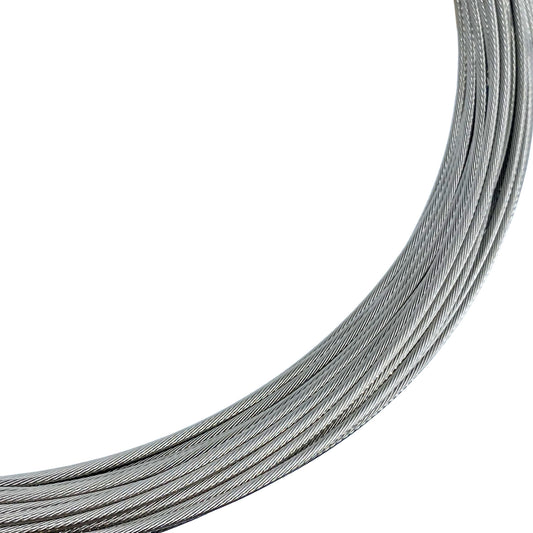
Ensure your 1/8" stainless steel cable is cut cleanly. Slide the Threaded Stud onto the cable first. Important: Ensure the smaller end of the hole goes onto the cable first, with the larger opening facing the cut end of the cable.
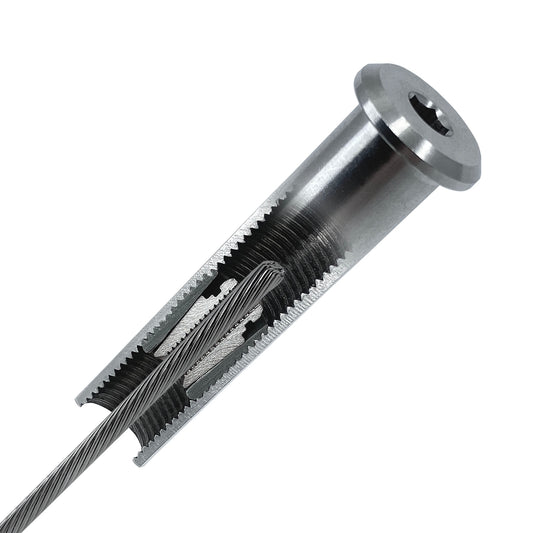
2. Install the Jaws
Push the Jaws onto the end of the cable using your fingers. Slide them on just enough so that approximately 1/8" of cable is exposed at the very end of the jaws.
3. Lock the Assembly
Pull the Threaded Stud back up toward the Jaws. Pull it firmly until you feel or hear a distinct "click." This indicates the jaws are seated correctly inside the stud.
4. Insert into Post
Place the Delrin Plastic Washer onto the threaded stud assembly. Slide the entire cable assembly into your 2-inch metal post.
5. Connect the Fitting
Insert the Level Fitting Body into the post to meet the cable assembly. Begin threading the stud/jaw assembly into the fitting body by hand until it is hand-tight.
6. Tighten and Tension
Once all cables are installed, use your Allen wrench (or ratchet with 3/16” hex bit) to apply final tension.
Tip: Hold the cable steady with your pliers to prevent it from spinning while you turn the fitting.
Tensioning Order
To ensure equal pressure on your posts:
- Start tightening the middle cables first.
- Work your way out, alternating up and down (one cable above the middle, one cable below, etc.).
- Repeat until the entire system is rigid and secure.
Download Installation Instructions (PDF)