Mastering the Angles: A DIY Guide to Cable Railing on Stairs
If you’ve been planning a deck renovation, you probably looked at the straight, level sections and thought, "I can do that." Then, you looked at the stairs.
For most DIYers, stair railing installation is the intimidating final boss of the project. It involves geometry, angles, and the terrifying fear of drilling a hole in the wrong spot. But here is the secret that professional installers know: Stairs are just straight runs tilted at an angle.
With the right preparation and Keuka Cable’s forgiving hardware, you can tackle your stair runs with the same confidence as your level deck. Here is your guide to mastering the angles.

Step 1: Demystifying the Math (How to Measure Stair Pitch)
Before you pick up a drill, you need to know your "rake" (the slope of your stairs). You don't need a degree in trigonometry to figure this out; you just need two numbers.
The Rise and Run Method:
- Rise: Measure the vertical distance from the top of one tread to the top of the next.
- Run: Measure the horizontal distance from the edge of one nosing to the edge of the next.
Once you have these numbers, you can find your angle. If you want to skip the math class, simply place a digital level or an angle-finder app on the tips of the stair treads. This number, usually between 32 and 37 degrees, is your "magic number." You will use this angle to set up your drill guide.

Step 2: The Art of Drilling Angled Holes
The most common mistake in installing cable railing on stairs is drilling straight horizontal holes through the intermediate posts. If you drill straight, the angled cable will "bite" into the wood or metal, kinking the cable and ruining the sleek aesthetic.
You need to drill your pass-through holes at the same angle as your stairs.
The DIY Jig Solution:
You don’t need an expensive drill press to get this right.
- Take a scrap block of 2x4 wood.
- Cut one end of the block at your "magic number" angle (e.g., 34 degrees) using a miter saw.
- Clamp this block to your post.
- Run your drill bit along the angled face of the block. It acts as a guide, forcing your drill bit to enter the post at the perfect pitch.
Pro Tip: For a clean look, apply a strip of painter's tape to the post before you mark your holes. This prevents the wood from splintering when the drill bit enters.

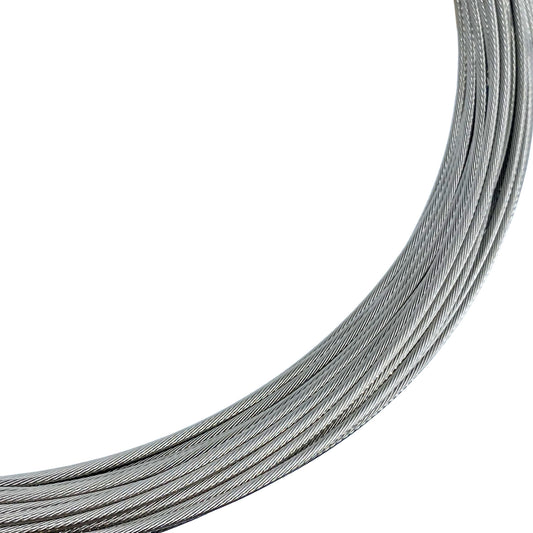
Step 3: Why "Swageless" Saves the Day
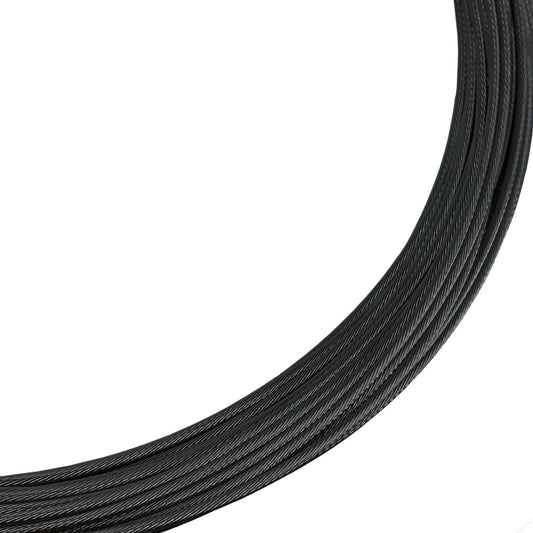
In the past, stair railing required precise measurements down to the millimeter. If you ordered a cable that was 1/4-inch too short, your project was stalled.
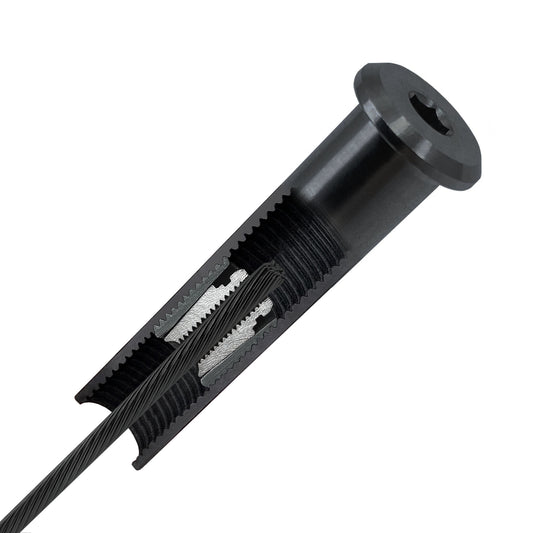
This is where Keuka Cable’s swageless fittings change the game.
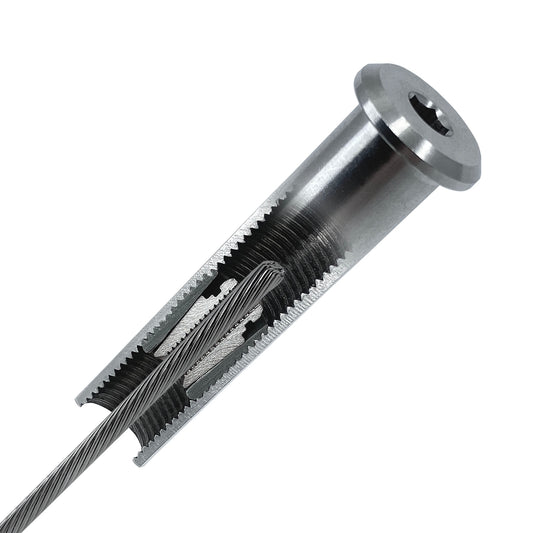
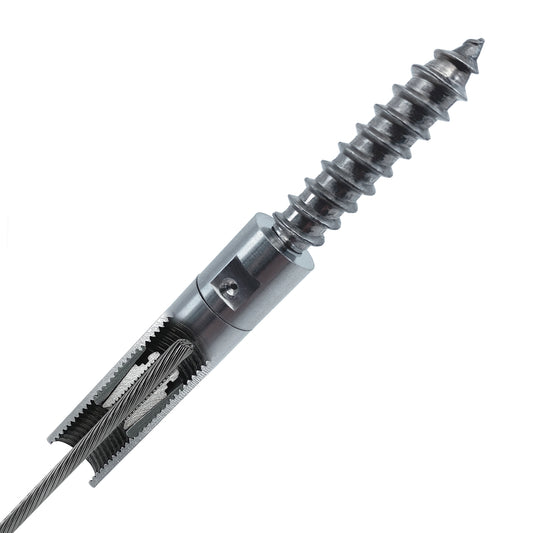
Unlike traditional systems that require factory-pressed ends, our fittings allow you to cut the cable to length on-site.
- Rough Cut: Run your cable through the posts and cut it with plenty of extra slack.
- Fine Tune: Insert the cable into the fitting and tighten it by hand. The internal mechanism grips the cable securely without the need for a hydraulic crimper.
If you mismeasure your run by an inch? No problem. You have the flexibility to adjust the tension and length right there on the stairs. This forgiving nature makes our system ideal for first-time installers.

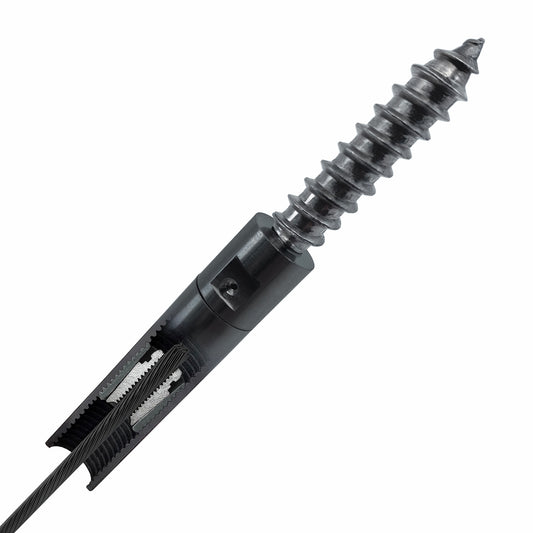
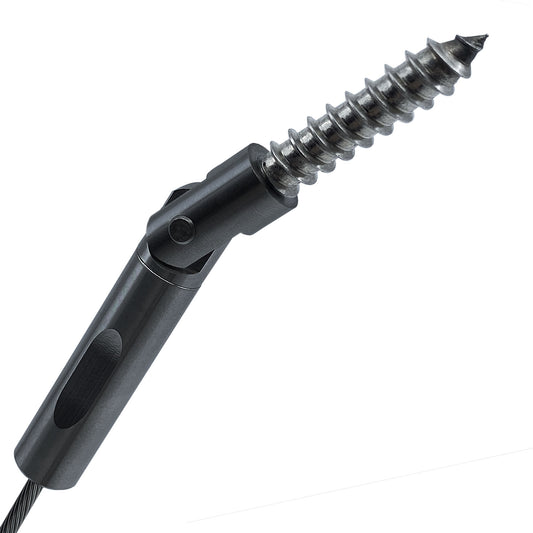
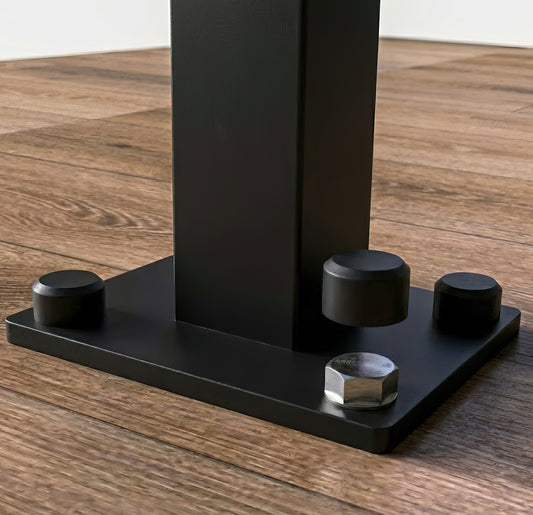
Step 4: Using the Right Angled Cable Railing Fittings
Standard level fittings won’t work on a slope. You need hardware that can pivot or is specifically designed for a rake.
At Keuka Cable, we design our stair hardware to handle the slope for you. Whether you are mounting into wood or metal posts, our angled cable railing fittings (like our Swageless Stair Fittings with Lag) articulate to match the pitch of your stairs. This ensures the tension is pulled in a straight line, reducing stress on the post and keeping your cables tight for years to come.

The Bottom Line
Don't let the angles scare you away from the modern, open look you want. By measuring your pitch, using a simple drill guide, and relying on Keuka Cable’s adjustable swageless technology, you can get professional results on a DIY weekend.
Ready to start your project? Shop our Cable Railing Hardware Here and get the look you’ve been dreaming of.