7 Common Cable Railing Installation Mistakes (And How to Avoid Them)
Installing a cable railing system is one of the most rewarding DIY projects you can tackle. It instantly modernizes your home and opens up your view. But unlike a traditional wood deck railing, cable railing requires precision.
A quarter-inch calculation error or the wrong choice of metal can turn a beautiful project into a code-violation nightmare.
Whether you are a first-time DIYer or a seasoned builder, avoiding these seven common pitfalls will save you time, money, and the headache of a failed inspection.

1. Ignoring the "4-Inch Sphere Rule"
This is the #1 reason cable railing projects fail building inspection.
The Mistake: Many DIYers space their cables 4 inches apart, thinking this meets the code requirement that "a 4-inch sphere cannot pass through."
The Reality: Cables are flexible. If you space them exactly 4 inches apart, an inspector can easily push a 4-inch ball through them by applying a little pressure.
The Fix: Space your cables 3 inches on center. This tighter spacing ensures that even when the cables flex, the gap remains small enough to pass inspection.
2. Spacing Posts Too Far Apart
The Mistake: Trying to save money by spacing posts 6 or 8 feet apart.
The Reality: Cable railing relies on tension. The longer the span of cable between posts, the more it will sag in the middle. To get a 6-foot span tight enough to meet code, you would have to apply so much tension that you might bend your end posts.
The Fix: Stick to a maximum post spacing of 42 to 48 inches (3.5 to 4 feet). This keeps the cable rigid.
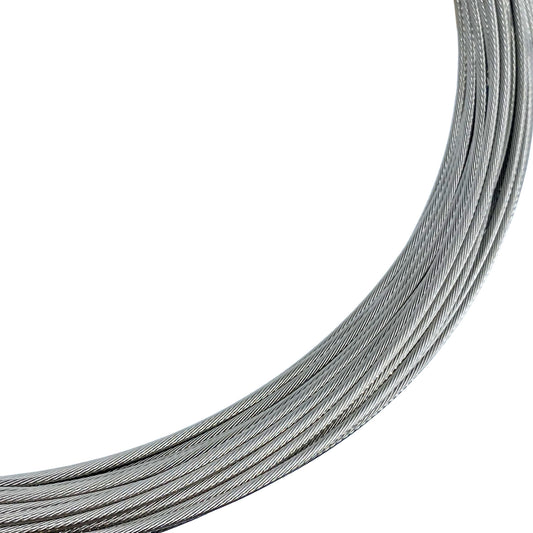
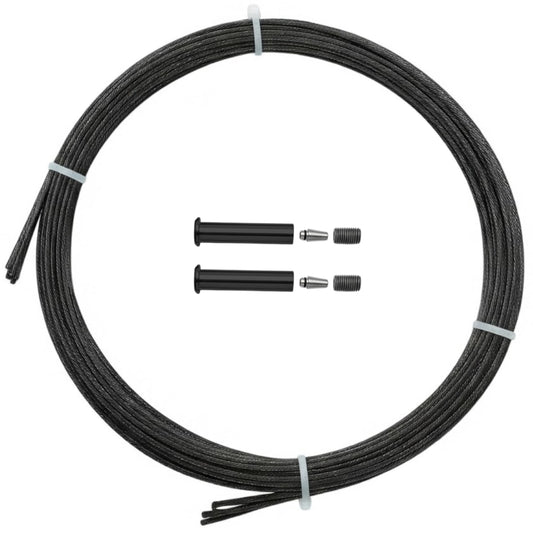
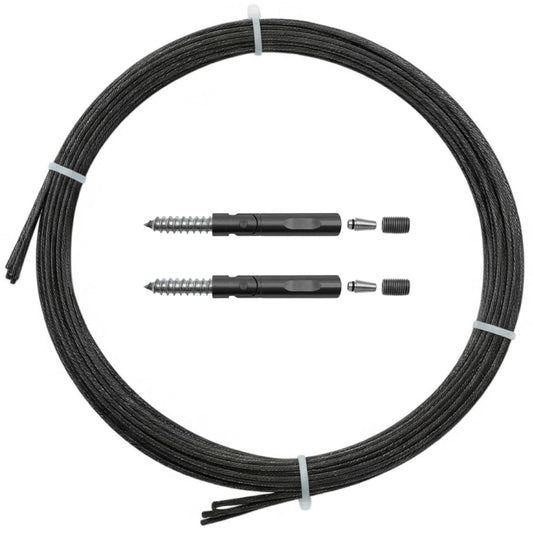
3. Buying "Amazon Grade" Stainless Steel (304 vs. 316)
The Mistake: Buying the cheapest cable railing kit you find online.
The Reality: Most cheap import kits use Grade 304 stainless steel. While this is technically "stainless," it is intended for indoor use or dry climates. If you live within 20 miles of the ocean or in a humid area, 304 steel will develop "tea staining" (rust spots) within months.
The Fix: Always verify you are buying Marine Grade 316 Stainless Steel. It contains molybdenum, which makes it virtually immune to saltwater corrosion.
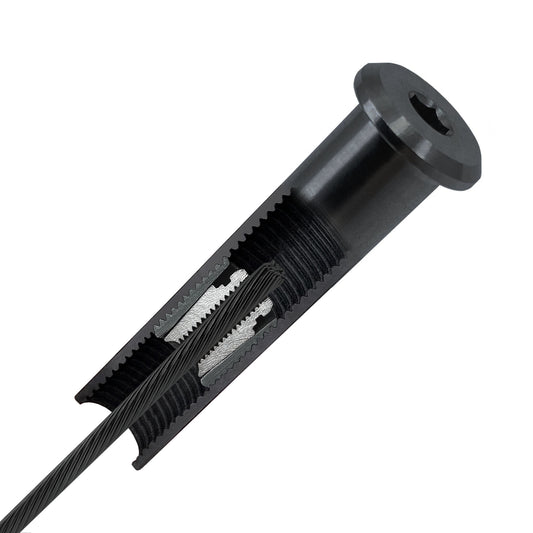
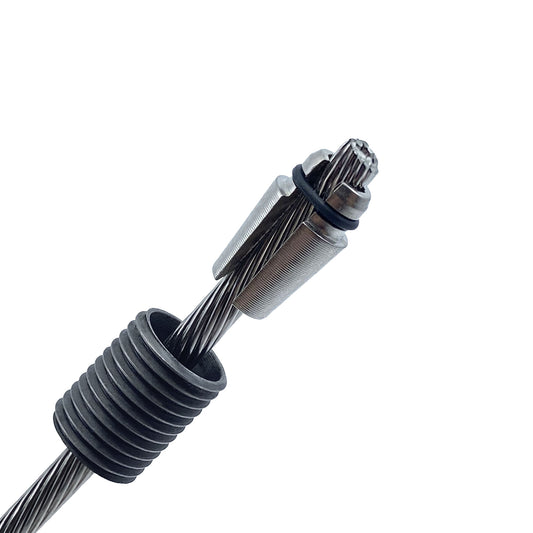
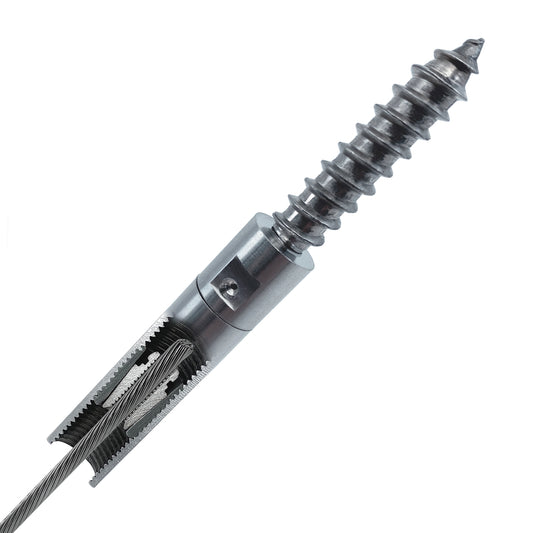
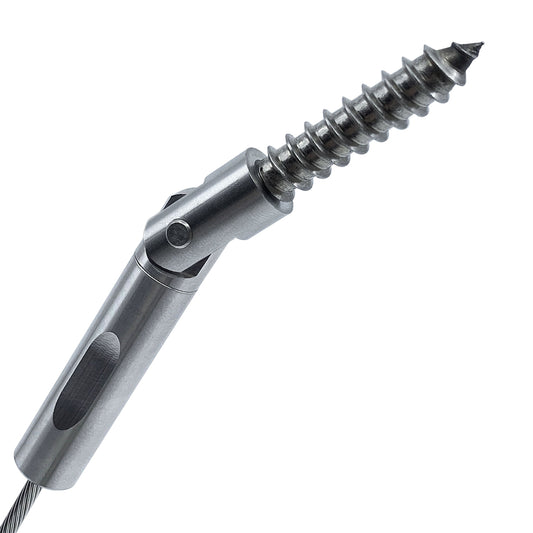
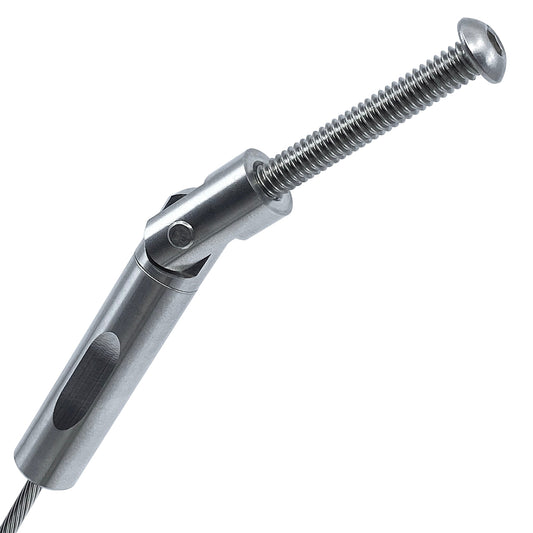
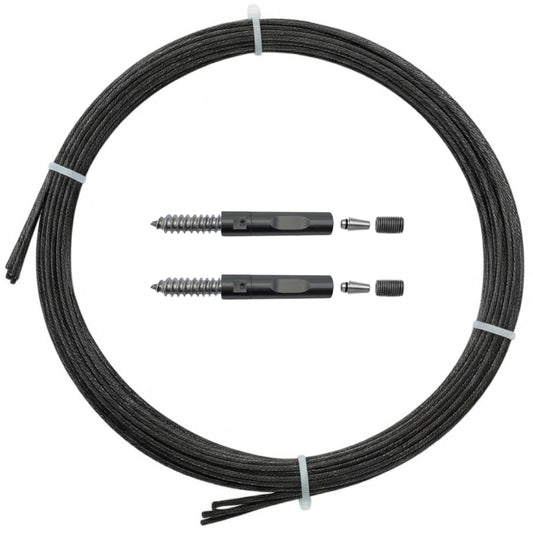
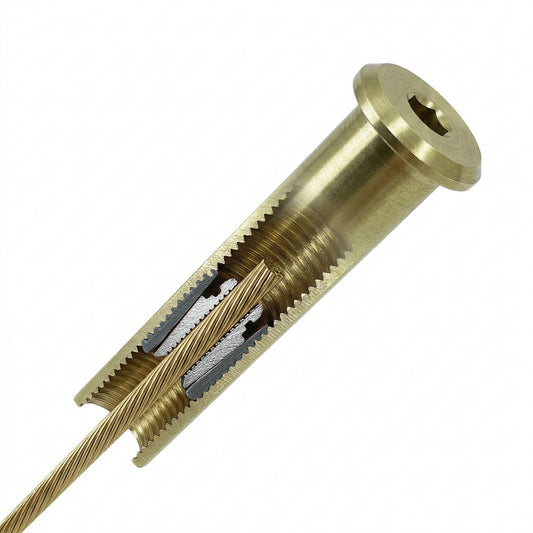
4. The "One-Shot" Crimp Disaster
The Mistake: Using a "swaged" (crimped) system for a DIY project.
The Reality: Swaged systems require you to crush the fitting onto the cable using a hydraulic tool. If you cut the cable ¼-inch too short or crimp it slightly crooked, there is no undo button. You must throw away the expensive fitting and the cable and start over.
The Fix: Use Swageless Fittings. These mechanical fittings grip the cable using a locking jaw system that can be undone.
The Keuka Advantage: Our swageless fittings are error-proof. Cut the cable a little short? Need to remove the railing to stain your deck next year? Just unscrew the fitting. No waste, no ruined parts.
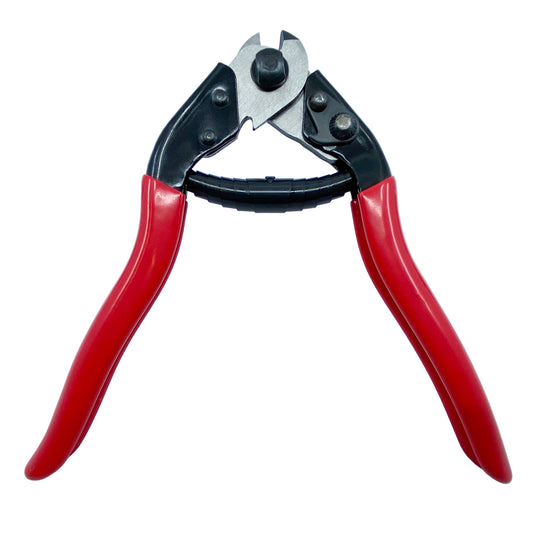
5. Using Standard Wire Cutters
The Mistake: Trying to cut stainless steel cable with the rusty wire cutters in your garage.
The Reality: Stainless cable is incredibly tough. Standard cutters will crush and fray the end of the cable rather than slicing it. A frayed cable end will not fit into your safety fittings, leading to hours of frustration.
The Fix: Invest in a dedicated Cable Cutter (like the ones we offer in our tool kits). It shears the cable cleanly, keeping the strands tightly wrapped so they slide effortlessly into the fittings.

6. Overtightening (and Bending Your Posts)
The Mistake: Cranking the tensioners until they won't turn anymore.
The Reality: You can actually pull your wood posts out of plumb (leaning them inward) if you over-tension the system.
The Fix: Tension your cables from the center out. Start with the middle cable, then alternate moving up and down (like tightening lug nuts on a tire). This distributes the load evenly across the post.
7. Cross-Contaminating the Steel
The Mistake: Using a standard steel drill bit or a screwdriver that you previously used on rusty bolts.
The Reality: If you use a tool made of plain carbon steel on your stainless railing, it can leave behind microscopic iron particles. These particles will rust on the surface of your shiny new railing, making it look like the stainless steel is failing.
The Fix: Use new, high-quality drill bits and driver bits for your installation. If you are cutting cable, never use a grinding wheel that was previously used on regular steel.
Do it right the first time.
Your view is worth it. By choosing a system designed for easy installation and longevity, you ensure your deck remains the highlight of your home for decades.
Explore our Swageless Cable Railing Hardware or Contact Us for help planning your layout.