Can I Install Cable Railing on Stone or Concrete? (The Complete Guide)
One of the most common questions we receive from homeowners with stone patios, concrete pool decks, or brick retaining walls is simple: "Can I install cable railing on this?"
The answer is a resounding yes. While wood decks are a common application for our systems, mounting cable railing to masonry often results in the most stunning, modern industrial aesthetics. Whether you are working with a poured concrete slab, structural brick, or mounting through a natural stone veneer, our posts are engineered to adapt to your hardscape.
This guide will walk you through the specifics of concrete mounts, choosing the right masonry anchors, and the critical structural differences when working with stone substrates.

Surface Mount vs. Fascia Mount: Options for Masonry
Just like with wood decking, you have two primary structural choices when installing on masonry: mounting to the top of the surface or the side of the structure.
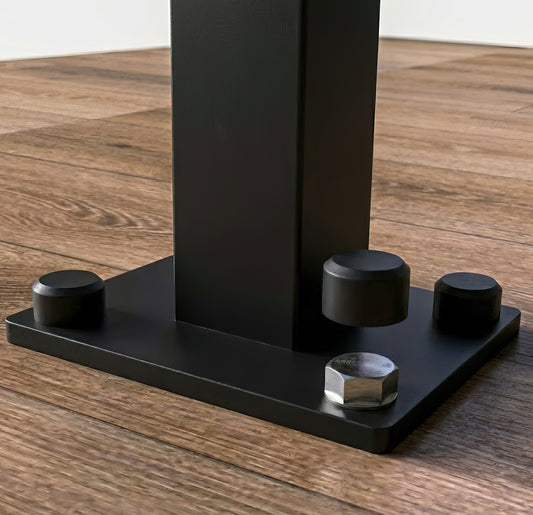
1. Surface Mounting (Concrete Mount)
This is the most common method for patios and pool decks. The post base sits directly on top of the concrete slab or stone pavers.
- Best for: Level concrete slabs, pool surrounds, and top-of-wall installations.
- The Look: A traditional upright feel that visually anchors the railing to the ground.
-
Critical Installation Note: Do not anchor solely to pavers.
- If you have a concrete slab under your pavers: You must drill through the paver and anchor deep into the structural concrete slab beneath.
- If your pavers are "floating" (set on sand or gravel): You cannot mount railing to them. The pavers will lift out of the ground under pressure. You must remove pavers at the post locations and pour concrete footings to provide a structural anchor point.

2. Fascia Mounting (Side Mount)
Fascia mounting involves attaching the posts to the vertical side of a concrete slab, stair tread, or masonry wall.
- Best for: Maximizing usable space on a balcony or narrow staircase. It keeps the floor clear for furniture and foot traffic.
- The Look: Sleek and ultra modern. The posts appear to "float" alongside the structure.
-
Installation Note: This requires a solid vertical face. If you have an overhanging stone coping, you may need spacers or a custom offset to ensure the post clears the lip of the stone.
-
Pro Tip: Spacers increase the leverage (torque) on your anchors. If your overhang exceeds 1.5 inches, consult our design team; you may need heavy-duty anchors to handle the increased load.
-

The Hardware: What You Need for Masonry
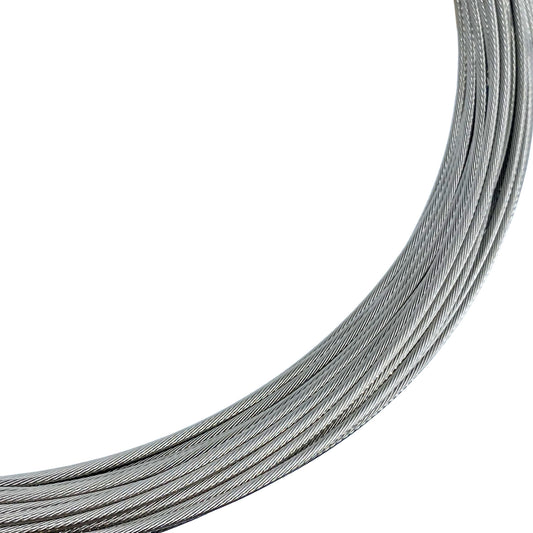
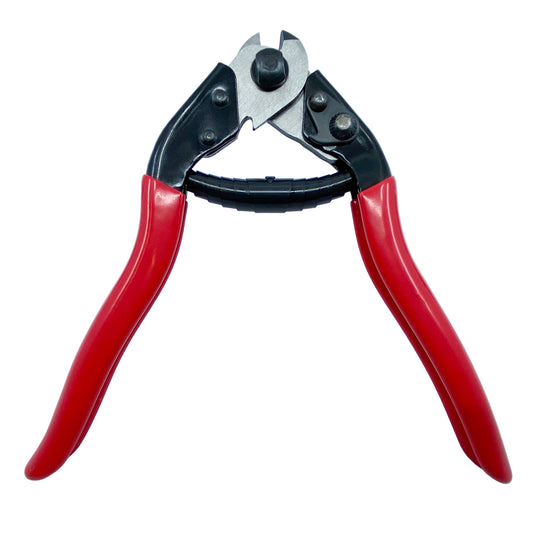
While Keuka Cable provides the cables, and tensioning hardware, the masonry anchors required to secure the posts are typically sourced locally to match your project's unique conditions.
Here is what you need to look for:
1. Wedge Anchors (For Solid Poured Concrete)
For poured concrete slabs that are in good condition, stainless steel wedge anchors are the industry standard.
- How they work: As you tighten the nut, the base of the anchor expands (wedges) against the concrete, creating a mechanical hold.
- Best for: Solid, reinforced concrete slabs.
- Safety Warning (Edge Distance): Because wedge anchors exert outward pressure, they can crack concrete if installed too close to the edge. Ensure your holes are at least 3 inches (or 5x the anchor diameter) away from the edge of the slab to prevent "blowout."
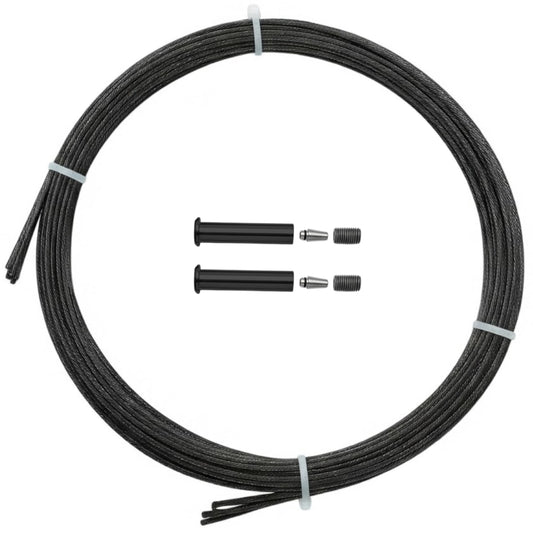
2. Epoxy Anchors (For Brick, Block, or Stone)
If you are mounting to hollow cinder block, brittle brick, or natural stone where expansion force might crack the material, epoxy anchors are the required choice.
- How they work: You drill a hole, clean it thoroughly, inject high-strength structural epoxy, and insert a threaded rod. The epoxy bonds chemically to the masonry without exerting outward cracking pressure.
- Best for: Older masonry, hollow block walls, or mounting through soft stone veneers.
- Note for Hollow Block: If installing into hollow cinder blocks, you must use mesh screen tubes to contain the epoxy; otherwise, the adhesive will simply drip into the void of the block.
Step-by-Step: Installing Posts on Concrete
Note: Always wear safety gear (eye and ear protection) and consult a structural engineer if you are unsure about the integrity of your masonry.
- Layout and Mark: Use a chalk line to mark your post centerlines. Place your post base in position and mark the mounting holes with a permanent marker.
- Drill: Use a hammer drill with a high-quality masonry bit. Drill to the depth recommended by your anchor manufacturer. Pro Tip: Use a piece of tape on the drill bit to mark your depth stop.
- Clean the Hole (Critical): This is the most important step. Use a wire brush and a vacuum (or compressed air) to remove all concrete dust from the hole. Dust creates a barrier that prevents anchors, especially epoxy types, from gripping the wall.
- Isolate the Metal: Concrete is alkaline and can corrode aluminum or stainless steel over time. We recommend placing a plastic isolation washer or a coating of bituminous paint between the bottom of the post plate and the masonry surface to protect the finish.
- Insert Anchors:
-
- Wedge Anchors: Hammer them in until the washer is flush with the post base.
- Epoxy: Fill the hole with epoxy as per instructions, insert the threaded rod, and let it cure. Check the label: Cure times vary based on temperature. Cold weather requires significantly longer cure times.
- Level and Plumb: Concrete surfaces are rarely perfectly level. Use stainless steel shims under the post base to ensure the post is perfectly vertical (plumb).
- Tighten: Secure the nuts to the specified torque.

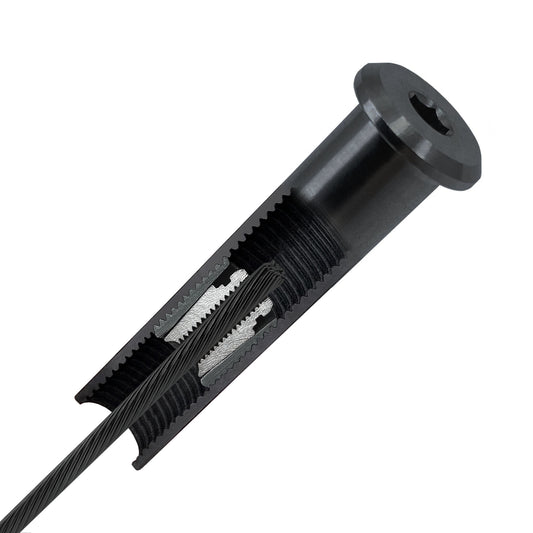
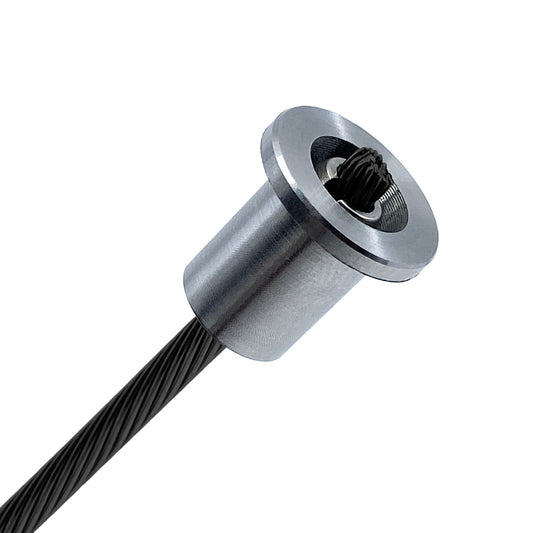
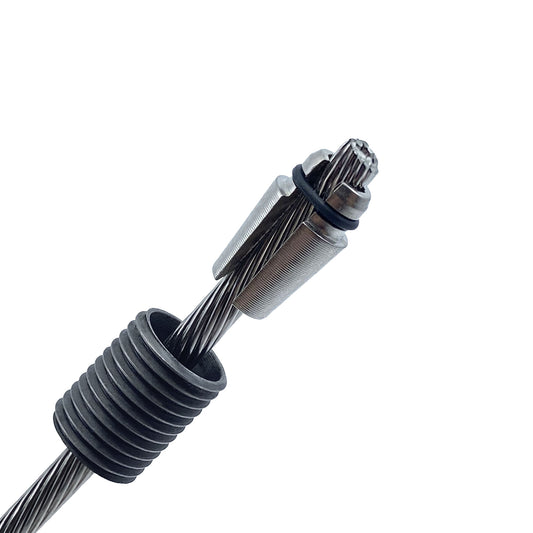
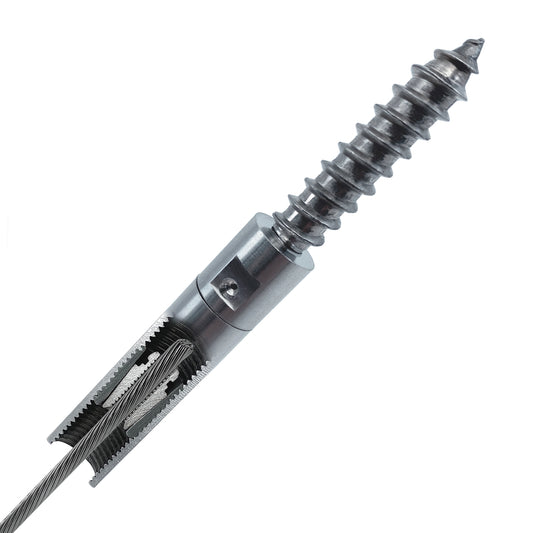
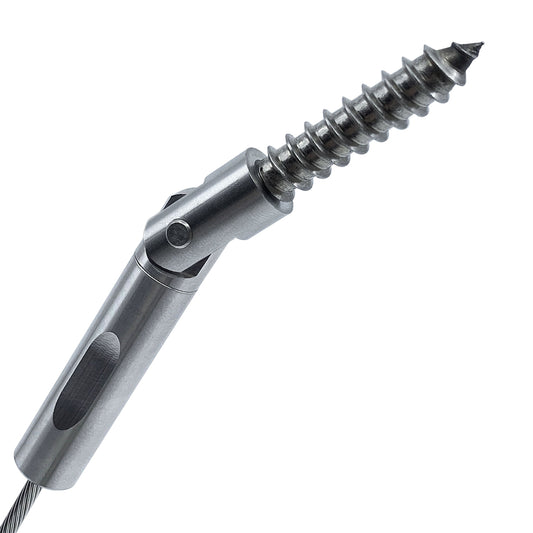
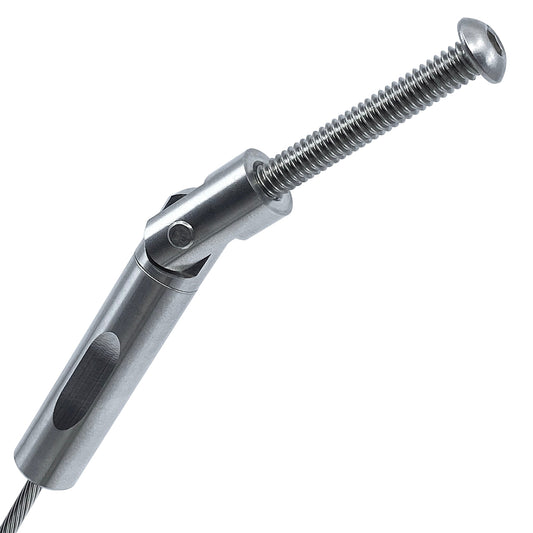
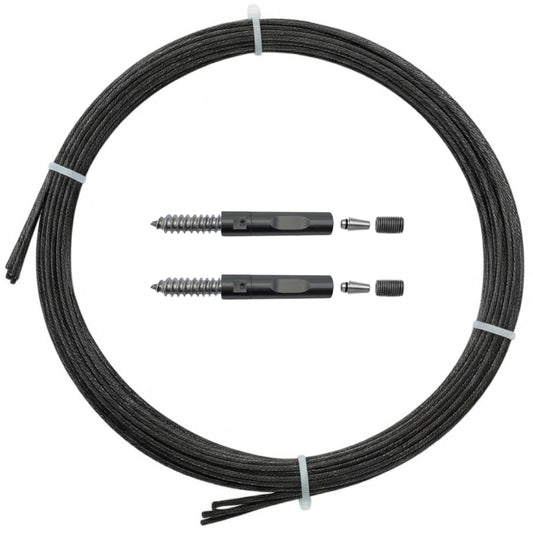
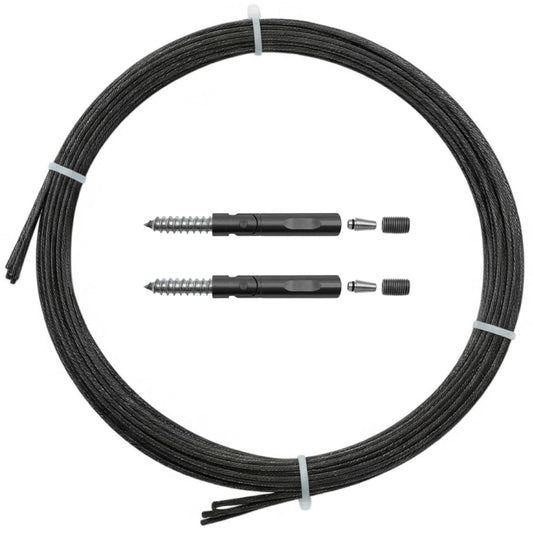
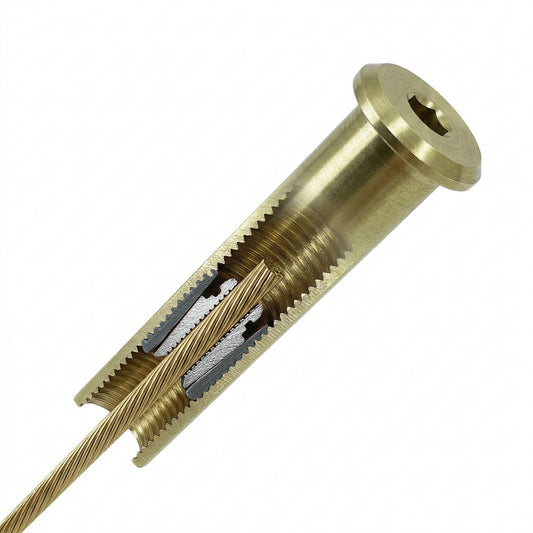
Terminating Cables Directly into Masonry
Sometimes, you might want to run cable from a metal post directly into a stone wall or house foundation. This allows you to anchor a tensioning device directly into a masonry wall, eliminating the need for a final post against the house. It’s a clean, minimalist solution that blends your architecture with your railing system.
Ready to Start Your Hardscape Project?
Installing cable railing on masonry requires a bit more preparation than wood, but the result is a maintenance-free, architectural feature that lasts for decades.
If you are unsure which mounting style suits your stone or concrete project, contact us. We can review your photos and help you determine whether a surface or fascia mount is right for your space.