The Hole Truth: How to Drill Perfect Posts for Your Cable Railing System
When you are installing a cable railing system, the cables themselves often get all the glory. But the secret to that seamless and floating look actually lies in the posts. Specifically, it lies in the holes you drill into them.
Whether you are building a new deck with pressure-treated lumber or retrofitting existing wood posts for a modern farmhouse look, drilling precise holes is critical. A hole that is not precisely spaced with look unsighty. Use a cable drill jig or a drill guide to ensure even spacing.
Want to Skip the Drilling?
If the idea of drilling dozens of holes perfectly straight sounds daunting, you have options. We design metal railing systems (like the Ithaca or Keuka Style) that arrive pre-drilled. Every hole is cut to the exact angle of your stairs or deck, meaning you just have to mount the posts and run the cable.
However, if you are committed to the DIY route and love the look of wood, the good news is that you do not need a commercial drill press to get professional results. With the right preparation and a few trade secrets, you can drill perfectly straight holes right on your deck.

1. The Golden Rule of Spacing is 3 Inches
Before you pick up a drill, you need a plan. The most common question we get asks how far apart the holes should be drilled.
To meet practically all building codes, you must ensure a 4 inch sphere cannot pass through the cables. Because cables have a slight amount of flex or deflection, we recommend spacing your holes 3 inches apart on center.
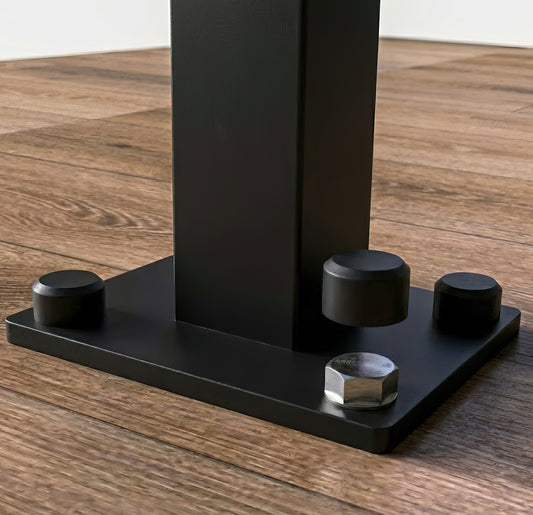
Pro Tip: Do not drill your bottom hole too close to the deck surface. Leave enough clearance (typically 3 inches) so you can easily fit your tensioning tool or Allen wrench into the lowest fitting without scraping your knuckles on the floorboards.
2. The Meeting in the Middle Technique
The biggest challenge with drilling through a 4x4 or 6x6 wood post is keeping the bit level. If you drill from one side all the way through to the other, the drill bit often wanders. What started as a centered hole on the front might exit an inch lower on the back, which ruins the alignment of your cable run.
The solution is the Meet in the Middle method:
- Mark both sides: Use a speed square to transfer your 3 inch spacing marks to both the front and back faces of the post.
- Drill halfway: Start drilling from the front face and stop when you estimate you are halfway through the post.
- Switch sides: Move to the back face and drill into your corresponding mark.
- Connect: As you drill inward, your two channels will meet in the center.
Because the cable is flexible, a slight misalignment inside the post is invisible and will not affect performance. However, the entry and exit holes on the outside will be perfectly centered and level, giving you that crisp and professional finish.

3. Preventing Blowout
If you choose to drill all the way through from one side, which is common on thinner intermediate posts, you risk blowout. This happens when the drill bit bursts through the back, splintering the wood and leaving a messy exit hole.
To prevent this issue:
- Use a Backing Board: Clamp a scrap piece of wood tightly against the back of the post where the drill will exit. The bit will drill into the scrap wood instead of bursting out into the air, keeping the wood fibers compressed and the exit hole clean.
-
Choose the Right Bit: For wood posts, use a brand-new, high-quality
a brad point bit (also called a spur-point drill bit) for a cleaner hole than a standard twist drill bit.
4. Sizing Your Holes for Keuka Fittings
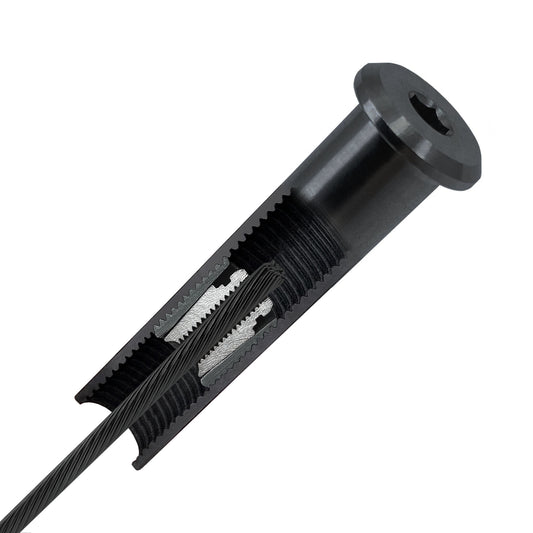
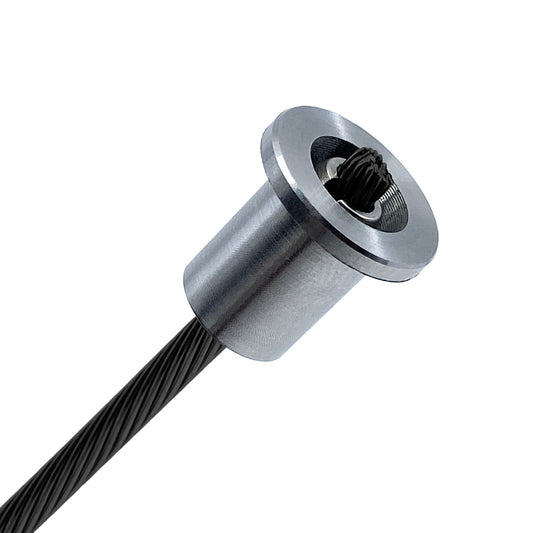
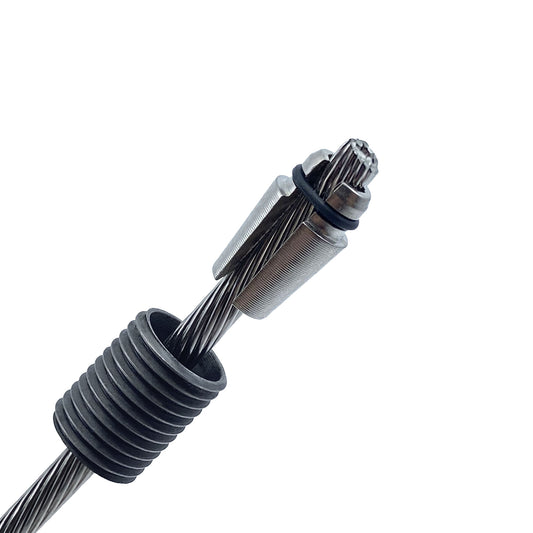
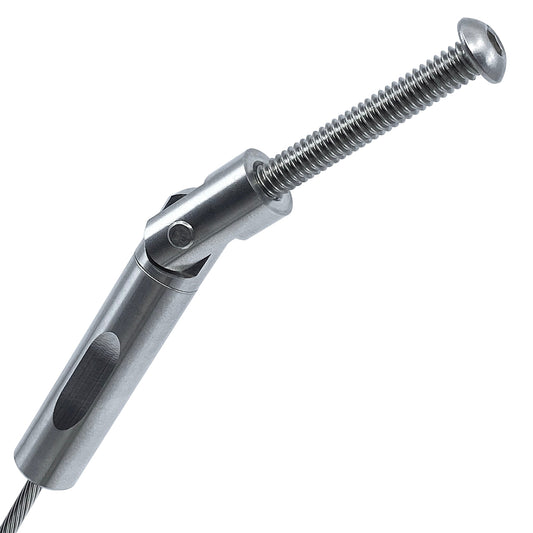
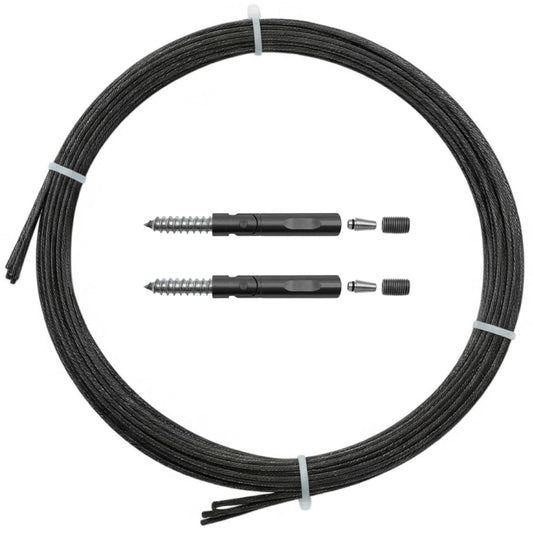
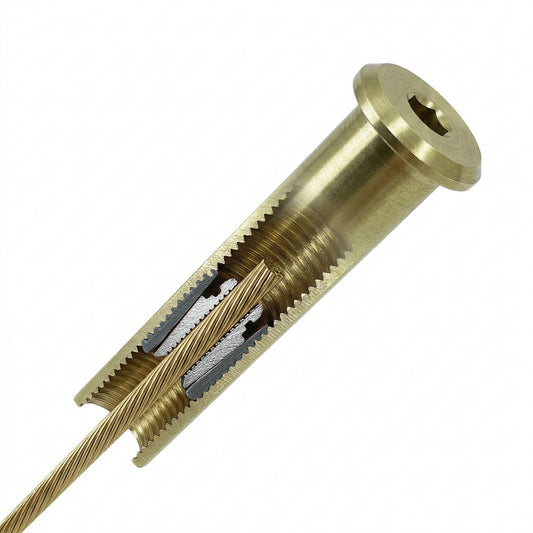
One of the advantages of Keuka Cable is our swageless fitting technology. You do not need to rent hydraulic crimpers because our fittings attach by hand. However, this means you need to drill the correct size hole for the specific fitting you are using.
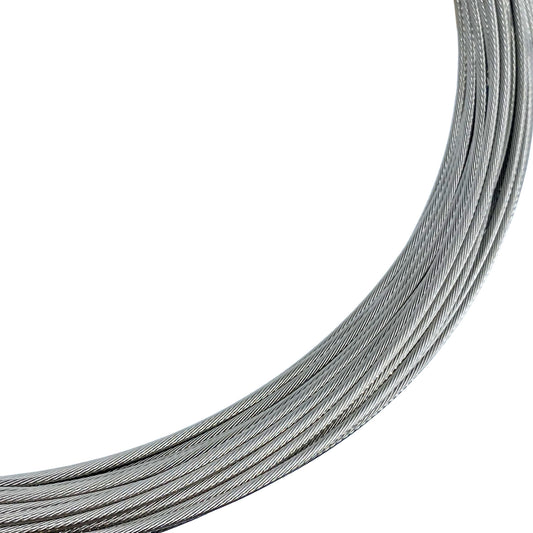
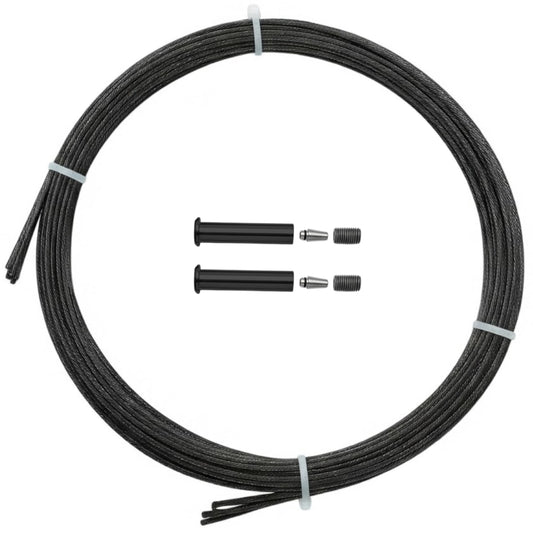
- Pass Through Holes: For intermediate posts where the cable just passes through, you typically need a 1/4 inch hole. This allows our standard 1/8 inch cable to pass freely without rubbing while still being small enough to look tidy.
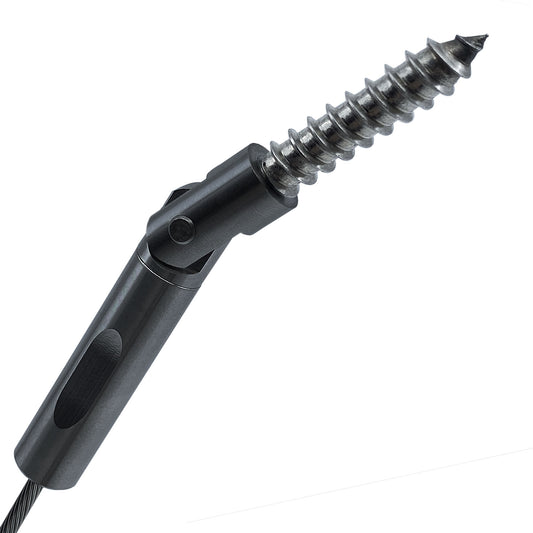
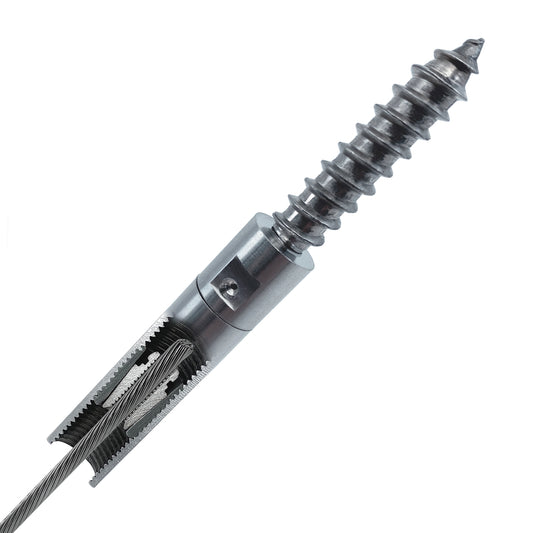
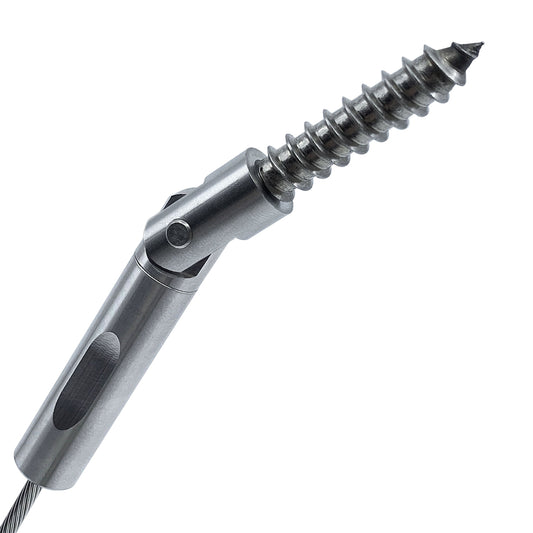
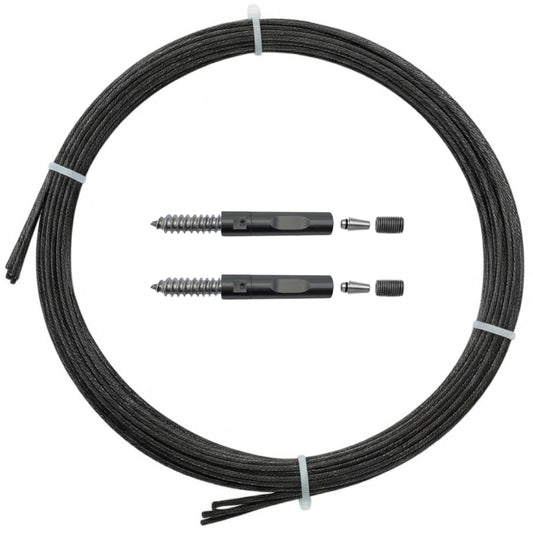
- Fitting Holes: If you are installing our Level Fittings or Lag Terminals into wood, you will likely need to drill a pilot hole for the lag thread. It's best to make some tests on some scrap post pieces, as hole sizes can vary depending on the species of wood. Generally, you want the hole slightly larger than the body of the screw (the smallest diameter part).

5. What About Metal Posts?
If you are drilling into metal posts like our aluminum or steel options for a custom project, the rules change slightly:
- Use Cobalt Bits: Standard bits will dull quickly. Invest in premium Cobalt drill bits designed for metal.
- Use a Center Punch: Metal bits like to walk across the surface before they bite. Use a center punch to create a small divot on your mark before you start drilling.
- Lubricate: A drop of cutting oil will keep your bit cool and extend its life.
Ready to Start?
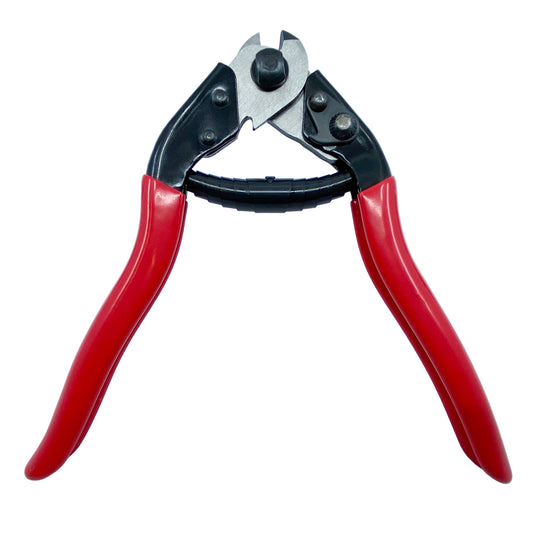
Drilling the holes is the hardest part of the job. Once that is done, the rest of the Keuka Cable installation is simple. You simply slide the cable through your perfectly drilled holes, attach the swageless fittings by hand, and tension them up.
Shop Our Cable Railing Hardware and get everything you need to transform your view this weekend.