The Ultimate Guide to Cable Railing Systems for Decks & Stairs
If you have a beautiful view, the last thing you want to do is block it with bulky wood balusters. This is why cable railing systems have exploded in popularity. They offer the perfect blend of modern safety and "barely there" visibility, making your deck feel larger and your views clearer.
But if you are new to this architectural style, the terminology, such as swageless fittings, tensioners, and marine-grade stainless steel, can feel overwhelming.
In this guide, we break down everything you need to know about choosing, designing, and installing the perfect cable railing for decks and stairs.

Why Choose a Stainless Steel Cable Railing System?
Beyond just the modern aesthetic, there are practical reasons homeowners are switching from traditional wood to stainless steel cable.
1. Unobstructed Views
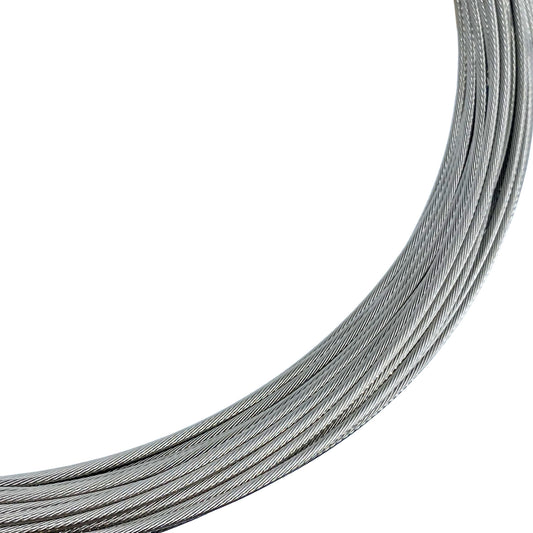
The primary advantage of cable deck railing is visibility. The thin 1/8” stainless steel cables virtually disappear from a distance, allowing you to enjoy your landscape, lake, or pool without vertical bars blocking your sightline.
2. Superior Durability (Marine-Grade Matters)
Unlike wood, which rots, warps, and requires annual staining, stainless steel cable railing is built to last. However, not all stainless steel is created equal.
- Standard 304 Stainless: Good for indoors or dry climates.
- Marine-Grade 316 Stainless: The gold standard for outdoor use. If you live within 10 miles of saltwater or in a humid environment, Type 316 stainless steel is essential to prevent rust and corrosion.
3. Low Maintenance
One of the biggest draws of wire deck railing is the "set it and forget it" factor. High-quality systems generally only require an occasional wipe-down with fresh water or a mild cleaner to keep them looking brand new for decades.

Understanding the Components: What Do You Actually Buy?
A complete system consists of three main parts. Understanding these will help you use our Project Cost Estimator more effectively.
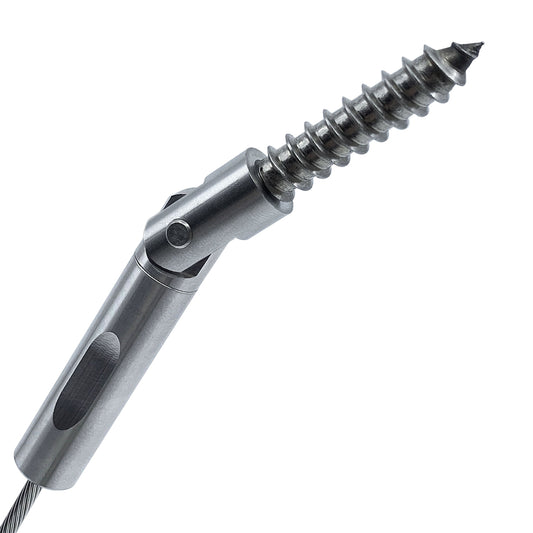
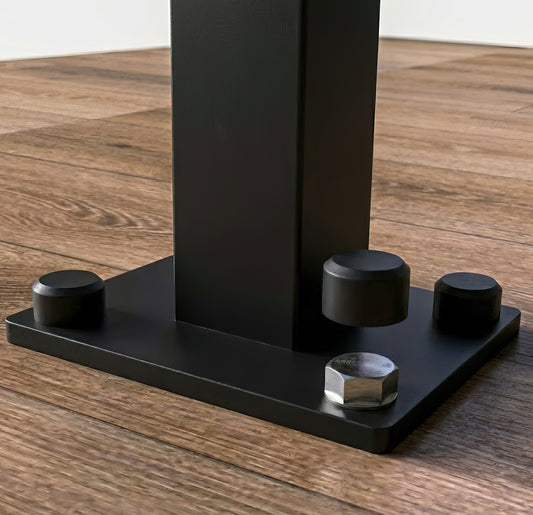
1. The Posts
You can install cable runs on almost any post material.
- Metal Posts: Aluminum or stainless steel posts offer the sleekest, most modern look.
- Wood Posts: A popular hybrid style. You can use your existing wood posts (or new cedar/pressure-treated ones) and simply run cable through them for a "rustic-modern" vibe.
- Composite/Sleeved Posts: Cable can also be retrofitted into composite post sleeves.
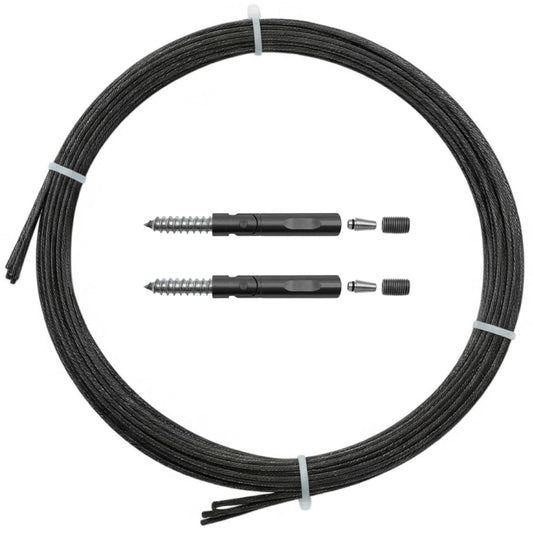
2. The Cable
Most residential codes require 1/8” stainless steel cable. It is strong enough to handle the tension (hundreds of pounds of force) but thin enough to stay out of your view.
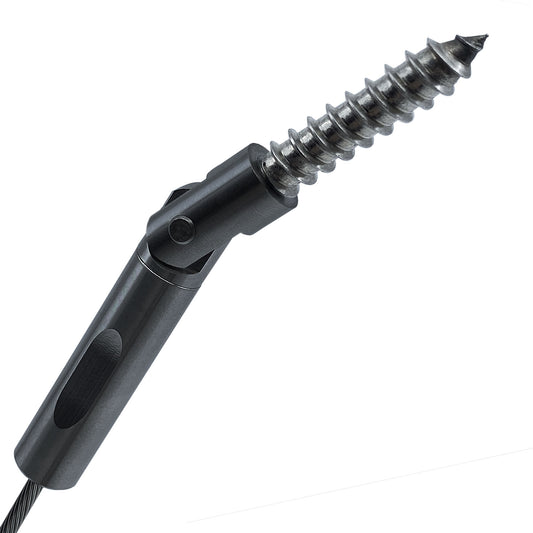
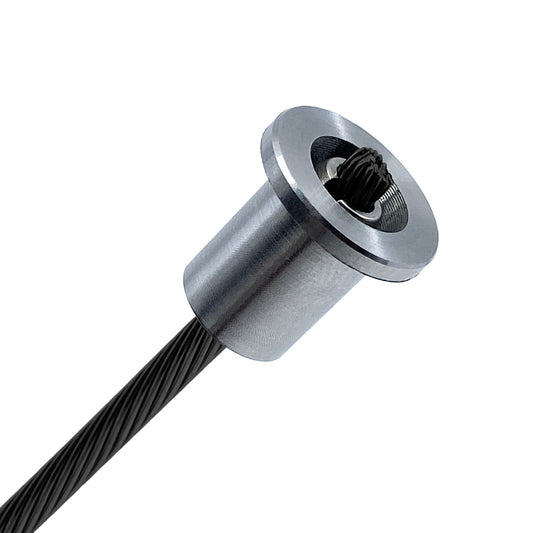
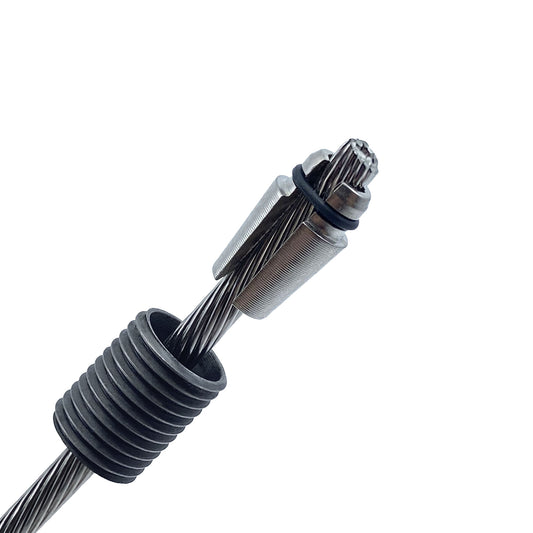
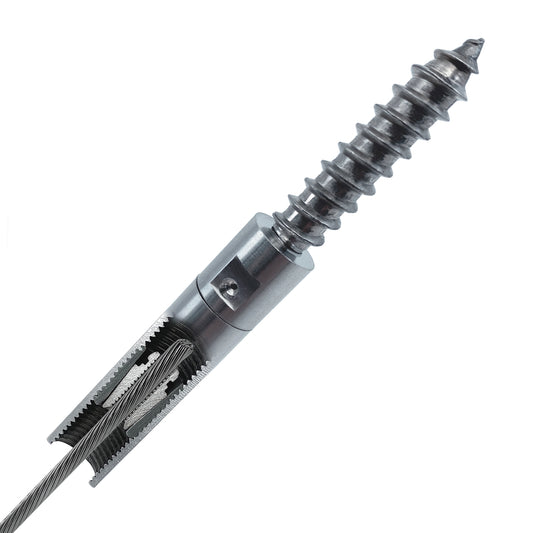
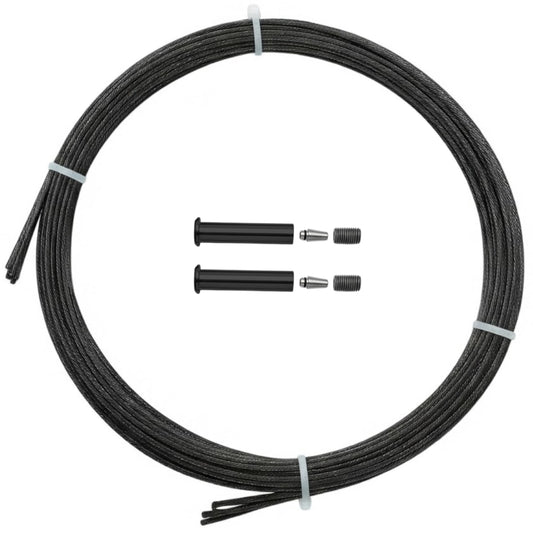
3. The Hardware (Fittings)
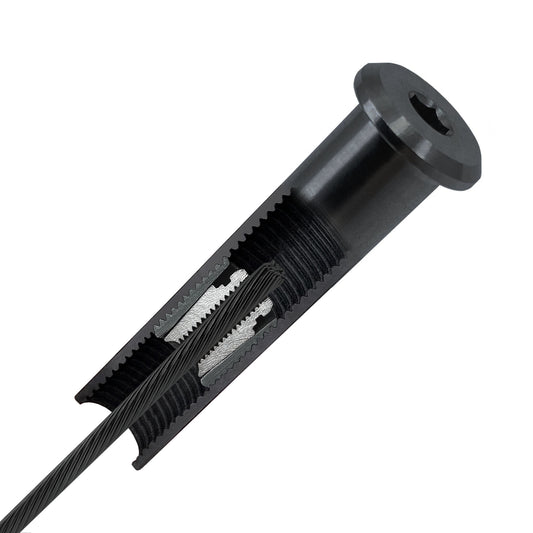
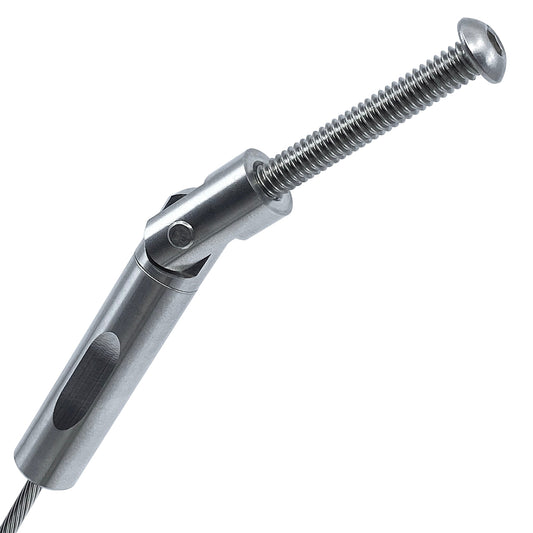
This is where quality counts. Most cable railing systems require two different components: a tensioning fitting on one end and a terminal on the other. Keuka Cables swageless fittings are designed to be the same on both ends, simplifying installation and creating a cleaner, more consistent look.
- Tensioners: Used on one end of the run to tighten the cable (like a guitar string).
- Terminals: Used on the other end to hold the cable in place.
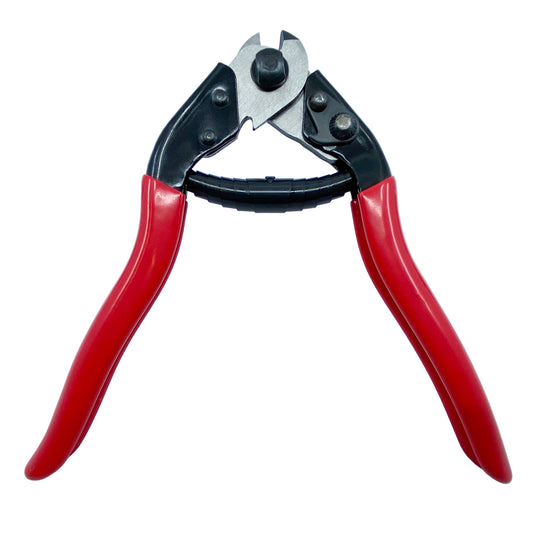
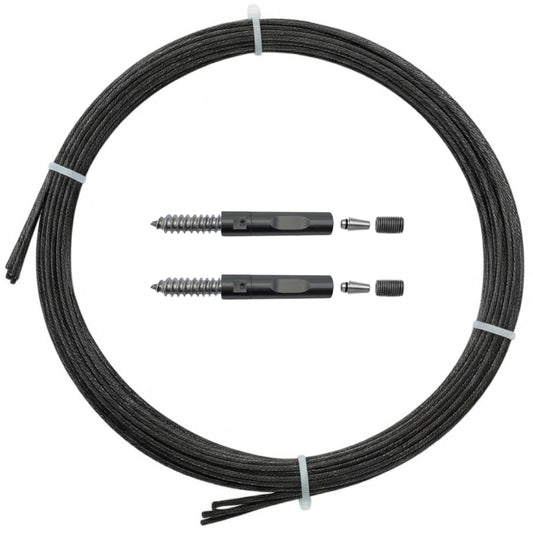
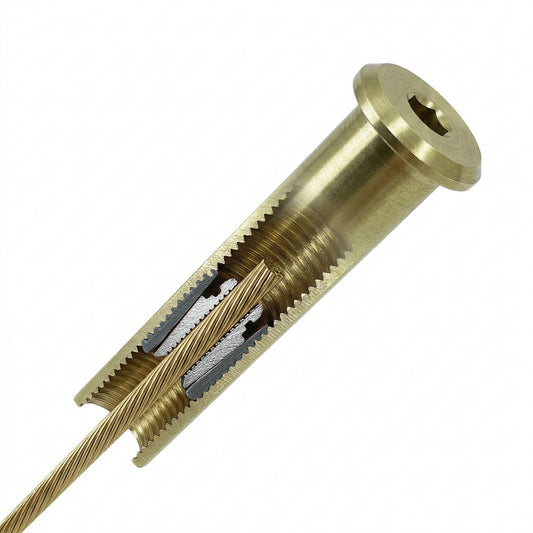
- Swageless Fittings: This is a game-changer for DIYers. Traditional systems require a heavy hydraulic crimper to crush the steel onto the cable. Swageless fittings (like Keuka Cable’s options) lock onto the cable automatically using a simple locking mechanism, requiring only basic hand tools.

DIY Cable Railing: Is It Hard to Install?
Many homeowners assume they need a professional contractor for cable railing installation, but modern kits are designed specifically for DIYers.
If you are comfortable using a drill and a tape measure, you can likely install a system yourself.
The "Swageless" Advantage
For the easiest installation, look for swageless fittings (often called mechanical fittings).
- Install Posts - per manufacturer's recommendations.
- Feed the cable through.
- Insert the cable into the fitting (it locks automatically).
- Tighten with a wrench.
No hydraulic crimpers or specialty contractors are required. This not only simplifies the project but also significantly lowers the total cost.

Cost Comparison: Cable vs. Wood vs. Glass
A common question is: "Is cable railing expensive?"
- Wood Railing: Lowest upfront cost, but highest long-term cost due to staining, sealing, and eventual replacement (every 10-15 years).
- Cable Railing: Moderate upfront cost. Because it uses stainless steel and requires zero structural maintenance, it often costs less than wood over the life of the deck.
- Glass Railing: Highest upfront cost. While beautiful, glass requires constant cleaning to remove water spots and fingerprints and restricts airflow.

Cable Railing Code & Safety
To ensure your cable stair railing or deck system is safe and compliant, keep these two rules in mind (and always check your local building codes):
- The 4-Inch Sphere Rule: Code dictates that a 4-inch sphere cannot pass through the railing at any point. To pass this, cables are typically spaced 3 inches apart.
- Post Spacing: To prevent the cables from sagging, the posts should generally be spaced no more than 4 to 5 feet apart. If you need wider spacing, a thin "picket" or cable stabilizer may be needed in the middle.
- End Posts - the end posts must be engineered to withstand the cumulative cable tension. With each cable exerting approximately 200 pounds of force the total load can reach 2200 pounds, a weight equivalent to a small economy car.

Ready to Rediscover Your View?
Whether you are renovating an old deck or building a new home, cable railing is the smartest investment you can make for your property’s value and your own enjoyment.
Not sure what you need?
- [Get an Instant Quote]: Use our Project Cost Estimator to build your list.
- [Shop Hardware]: Browse our American-made, marine-grade fittings.
- [Project Gallery]: See how other homeowners transformed their spaces.